Last updated November 18, 2026


Free written scope consultation - allowances, timeline, and change-order rules on paper before a single trade is scheduled
Bathroom Remodeling Troubleshooting: Common Problems and How to Fix Them
About 65% of bathroom remodel callbacks and warranty claims trace to one of four causes: improper shower pan slope, missing or inadequate waterproof membrane behind the tile, a drain collar not bonded to the liner, or inadequate ventilation. What makes those failures expensive is that all four are invisible once the finish tile is set. You cannot see a bad slope under a mosaic floor, and you cannot test a membrane through porcelain. We’ve opened enough failed showers in North Las Vegas to know the pattern is not random. This guide shows you what those details look like when they’re built correctly, and it gives you a photographic inspection protocol you can run before the walls close.
Quick Answer
Most bathroom remodel problems come from four hidden construction details: shower pan slope, the waterproof membrane, the drain-to-liner bond, and ventilation. Check each one before tile goes down, with photos, a 4-foot level, and a tape measure. Catching a bad slope or an unsealed seam at that stage costs almost nothing; catching it after the tile is set costs $1,800 to $4,500 or more.
Styles & brands we work with
- Kitchen remodeling
- Bathroom remodeling
- Home additions & ADU
- Roofing
- Windows & doors
- Driveway & pavers
- Fence
Table of Contents
- Problem 1: The Shower Floor Slope Is Wrong
- Problem 2: The Waterproof Membrane Is Missing or Compromised
- Problem 3: The Drain Collar Is Not Bonded to the Liner
- Problem 4: Inadequate Ventilation Feeds Mold and Peeling Paint
- Problem 5: Your North Las Vegas Home Has No Bathroom GFCI
- Problem 6: Tile Lippage Is a Defect, Not a Style
- Problem 7: Grout in Movement Joints Cracks Every Time
- Your Pre-Tile Inspection Protocol
Problem 1: The Shower Floor Slope Is Wrong
The shower pan has one job: move water to the drain. The International Plumbing Code sets the floor that way for a reason, and the number to remember is a minimum of 1/4 inch of fall per foot toward the drain. A 3-foot-wide shower floor therefore needs about 3/4 inch of drop from the perimeter to the drain. Flat pans, or pans that slope at 1/8 inch per foot, pool water at the edges. Pooled water sits on the grout, works its way into the substrate, and shows up two years later as a soft spot at the shower curb or a stain on the ceiling below.
You can check the slope yourself before tile is set, and you should.
- Lay a 4-foot level across the shower floor with one end touching the drain flange.
- Slide a tape measure under the level at the perimeter, at the point furthest from the drain.
- Divide that gap by the distance to the drain in feet. A drain 2 feet from the perimeter should show roughly 1/2 inch of gap.
- Check all four sides. The slope should be consistent, not steep on one side and flat on the other.
- Photograph the level and tape in the frame, with a measuring reference visible, and keep the photo in the project file.
After the fact, a re-slope means demolition: tile, thinset, and usually the preslope and pan. Expect $1,800 to $4,500 in North Las Vegas depending on substrate and tile, and on whether the pan is a traditional mortar bed or a bonded waterproofing membrane. It is the single most common callback we see on bathrooms where the original installer never measured the fall.
Problem 2: The Waterproof Membrane Is Missing or Compromised
Tile and grout are not waterproof. The waterproofing is a membrane behind the tile, and there are two ways to build it: a sheet-applied liner or a liquid-applied coating. Both work, but both fail the same way – at seams, at corners, and at penetrations like the shower valve and the niche. A properly built shower gets a flood test: the pan is filled with water and left for 24 hours to prove it holds before tile begins. If your contractor does not offer a flood test or a membrane inspection, ask why.
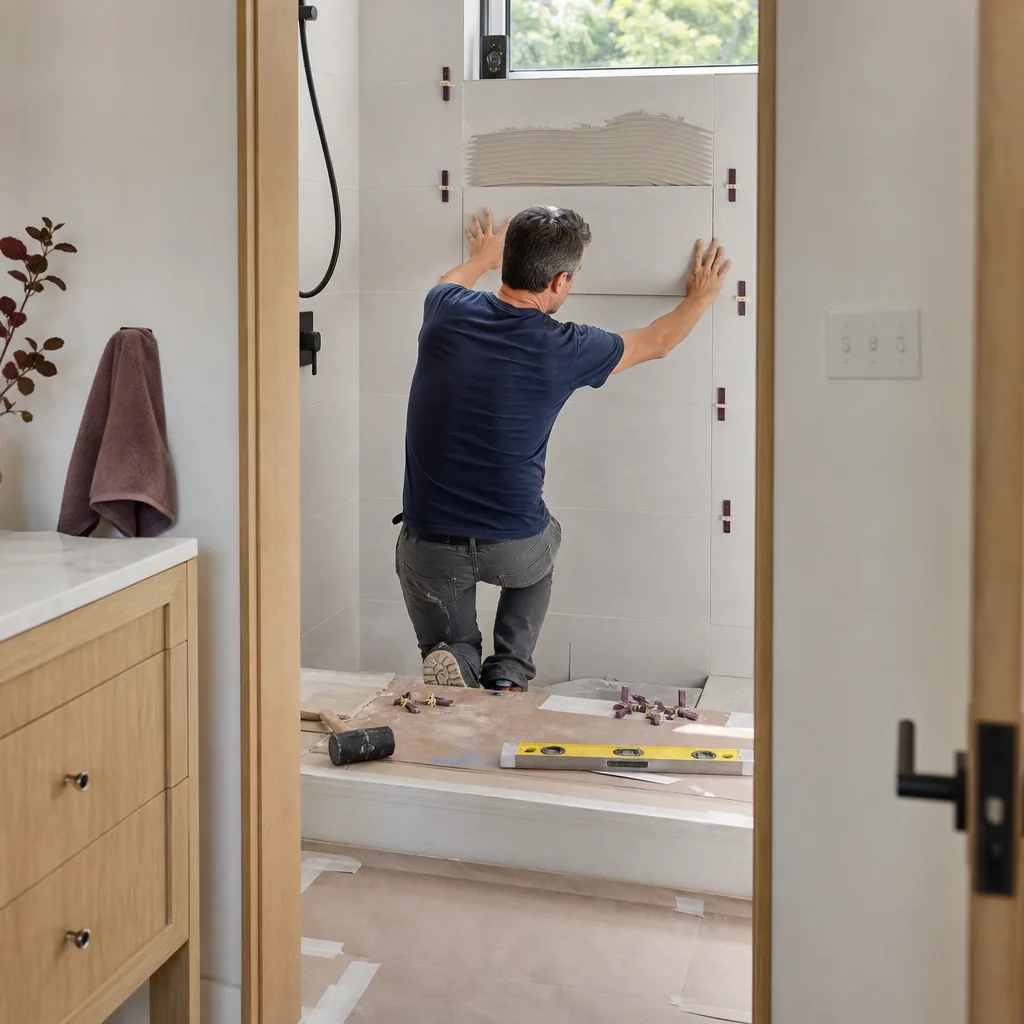
Because the membrane disappears under tile, your defense is documentation. A competent contractor will invite an inspection of the shower liner before the tile setter arrives. On our North Las Vegas bathroom remodels, we photograph the membrane, the drain bonding flange, and every seam and corner before tile is set, and the photos go into the documented photo record the homeowner keeps. The protocol:
- Photograph the full membrane with the shower valve and niche visible.
- Photograph every seam, inside and outside corner.
- Photograph the drain connection and the flood test water level, with the date.
- Confirm the membrane laps at least 2 inches over the pan and turns up past the curb.
- Keep the set with the signed scope and warranty. If a leak shows up later, this file is your evidence.
Problem 3: The Drain Collar Is Not Bonded to the Liner
The most expensive leaks start at a detail smaller than a dollar coin: the bond between the drain clamping ring and the waterproof liner. A traditional clamping drain has a lower flange with a ring on top; the liner is sandwiched between them, sealed with a silicone bead, and bolted down. If the ring is overtightened, the liner tears. If it’s undertightened or the bead is skipped, water sneaks down the outside of the drain body and into the framing below. A bonded flange drain has a similar failure point at the membrane-to-flange seal.
This detail is invisible after the mortar bed and tile go down, and it produces one of the worst outcomes in a bathroom: a slow leak that rots the subfloor before anyone notices. Check it before the tile contractor starts. Confirm the liner is intact at the bolt holes, the silicone bead is present and continuous, and the bolts are snug, not torqued. Photograph the connection from two angles. If your contractor wants to skip it because “it always holds,” that’s your cue to slow the project down.
If you ever need to tear out a bathroom this far, it’s often the moment homeowners consider a reconfiguration, like adding a bench or a niche, which touches the same framing. If your remodel is growing into structural walls, our Home Additions & ADU in North Las Vegas team handles that scope on the same written-price process.
Problem 4: Inadequate Ventilation Feeds Mold and Peeling Paint
North Las Vegas is dry, but a shower produces a gallon of water vapor per typical 10-minute shower, and it all lands on the surfaces of a small bathroom. If the exhaust fan is undersized, clogged, or vented into the attic instead of outdoors, that moisture stays. Ten years of it shows up as peeling paint on the ceiling, cracked grout, mold at the ceiling corners, and a smell that never quite goes away. Ventilation is cheap to get right and expensive to ignore.
The fix is not glamorous. The fan should be sized to the bathroom’s cubic footage and rated in the HVI directory. It should vent through the roof or a wall, never into the attic or a soffit where the moist air comes back in. It should run 15 to 20 minutes after a shower, which usually means a timer switch, not a pull chain. If the existing fan is 20 years old and its cover wobbles, replace it while the walls are open. Sizing, short duct runs, and a tight exterior termination are the three variables that matter most, and none of them can be fixed after the drywall is painted.
Problem 5: Your North Las Vegas Home Has No Bathroom GFCI
Receptacles within 6 feet of a water source require ground-fault circuit interrupter (GFCI) protection, and there’s a stricter rule that no bathroom receptacle can be more than 3 feet from the edge of a basin on a dedicated bathroom circuit. Many North Las Vegas homes built before 2000 have no GFCI in the bathroom at all. When a remodel opens the wall, the electrical inspector will require the circuit to be brought up to code before the wall closes. This is not a contractor upselling you; it is the code on the day the permit is pulled.
Budget for it at the start, because it’s cheap when the wall is open and awkward later.
- GFCI protection for all bathroom receptacles, $150 to $400 in a typical one-bath remodel.
- Dedicated 20-amp bathroom circuit with GFCI, $400 to $900 when the panel has an open slot.
- Panel work if no slot is available, $700 to $1,500 depending on panel age.
- Recessed lighting and exhaust fan wiring, $300 to $800, commonly bundled with the above.
The scope should be on the written estimate before anyone touches a wire, with a line item for the electrical permit. Rowan Construction Group North Las Vegas quotes the electrical scope as a flat line item on the written price, and no electrical work proceeds without a signed change order if the inspector adds a requirement mid-project.
Problem 6: Tile Lippage Is a Defect, Not a Style
Lippage is the height difference between the edges of two adjacent tiles. ANSI A108.02 sets the standard, and for most floor tile the allowable offset is 1/32 inch, with a slightly more forgiving 1/16 inch for some larger formats and specific grout joint widths. When adjacent tiles vary more than that at the edges, you have a tripping hazard on a bathroom floor and, more importantly, a symptom: the substrate was not flat before tile went down. Thinset cannot fix a floor that’s out of plane by 1/4 inch.
You can find lippage with a straightedge, a coin, or a bare foot, which is usually how it’s discovered first. The correction depends on severity:
- Minor lippage, up to 1/32 inch over 1/16 inch standard: sometimes accepted with a grout joint adjustment and an acknowledgment on the record.
- Moderate lippage, 1/32 to 1/16 inch: grinding the tile edges. Costs $8 to $20 per linear foot, but risks glazing the finish.
- Serious lippage, over 1/16 inch: full reset. Tile and thinset are removed to the substrate, the substrate is flattened with self-leveling compound, and the tile is reinstalled. Cost runs $200 to $600 for a small floor, more if the tile is a large-format porcelain or a natural stone.
If your tile is already down, the answer is a flooring contractor’s assessment, not a homeowner’s. If it isn’t down yet, the answer is to check the floor plane with a 10-foot straightedge before the first tile is set.
Problem 7: Grout in Movement Joints Cracks Every Time
Grout is rigid. Tile planes expand and contract as the room changes temperature, and when two planes change at different rates, a grouted joint cracks, usually along the line where the floor meets the wall or at an inside corner. A properly built bathroom puts caulk at every movement joint: floor-to-wall, wall-to-wall inside corners, and the shower curb, and along the perimeter where tile meets a different substrate. Movement joints are caulked precisely because they need to flex. Grout there is a recipe for a crack that appears within a year.
Identifying a bad joint is straightforward. Look for a hairline crack running a straight line along a corner or at the shower curb. Press a fingernail into the joint; if it’s hard and granular, it’s grout. If it’s slightly rubbery, it’s caulk. If the bathroom was recently remodeled and you see grout in the corner joints, that’s a defect. The repair is to cut the grout out along the joint, clean it, and fill it with an ASTM C920-rated sealant (typically a silicone caulk color-matched to the grout). The repair is inexpensive at $100 to $300 per joint, or less if bundled into a larger touch-up list. Left alone, the crack lets water into the wall cavity, which is how hairline cracks become $4,000 repairs.
Your Pre-Tile Inspection Protocol
Before the first tile is set, walk the project with the following checklist and photograph each item. This protocol is what our crews follow, and it’s what you should hold any contractor to, whether you hire us or someone else in North Las Vegas.
- Photograph the shower pan with a 4-foot level and tape measure showing at least 1/4 inch per foot of fall to the drain on all four sides.
- Photograph the waterproof membrane in full, with the shower valve, niche, and drain visible.
- Photograph every membrane seam and corner, and the drain bonding flange with its silicone bead.
- Photograph the flood test at full pan, with the date visible.
- Photograph the substrate with a 10-foot straightedge showing the floor plane, and the electrical rough-in with GFCI protection visible.
- Photograph the rough-in for the exhaust fan, including the duct route and the exterior termination.
- Confirm in writing that movement joints will be caulked, not grouted.
We photograph the membrane, the drain bond, the flood test, the substrate, and the electrical rough-in on every bathroom remodel, and those photos go into the documented photo record the homeowner keeps after the crew leaves. It’s not a badge; it’s the record that protects both sides if a problem shows up later.
Common Mistakes to Avoid
- Accepting “it always holds” as a drain-bond explanation. The drain collar is the most common slow-leak point in a shower, and it’s invisible after tile. Photograph it or hold the next step until you do.
- Letting the contractor tile over a floor that isn’t flat. A 1/4-inch dip over 4 feet causes lippage and trapping water. Insist on a straightedge check on the bare substrate before tile begins.
- Grouting movement joints to save the cost of caulk. The $60 in sealant is the difference between a flexible joint and a crack within the first winter in a North Las Vegas bathroom.
- Skipping the electrical scope on pre-2000 homes. The inspector will require GFCI when the walls are open. Budget for it in writing before the project starts, not after.
- Venting the exhaust fan into the attic. It’s common and it’s wrong. It dumps a gallon of moisture per shower into the same space that holds your insulation and roof framing.
- Choosing a tile pattern that won’t work on the actual floor. Large-format porcelain on an unflat floor means lippage at every seam. The pattern has to suit the substrate, or the substrate has to be flattened first.
- Letting anyone proceed without a signed change order. Verbal “we’ll adjust it later” is how a $14,000 bathroom becomes a $19,000 bathroom. Under Clause 1 of the Haven Standard, the written price is set before the first tool is picked up, and no change goes forward until it’s signed.
See the difference
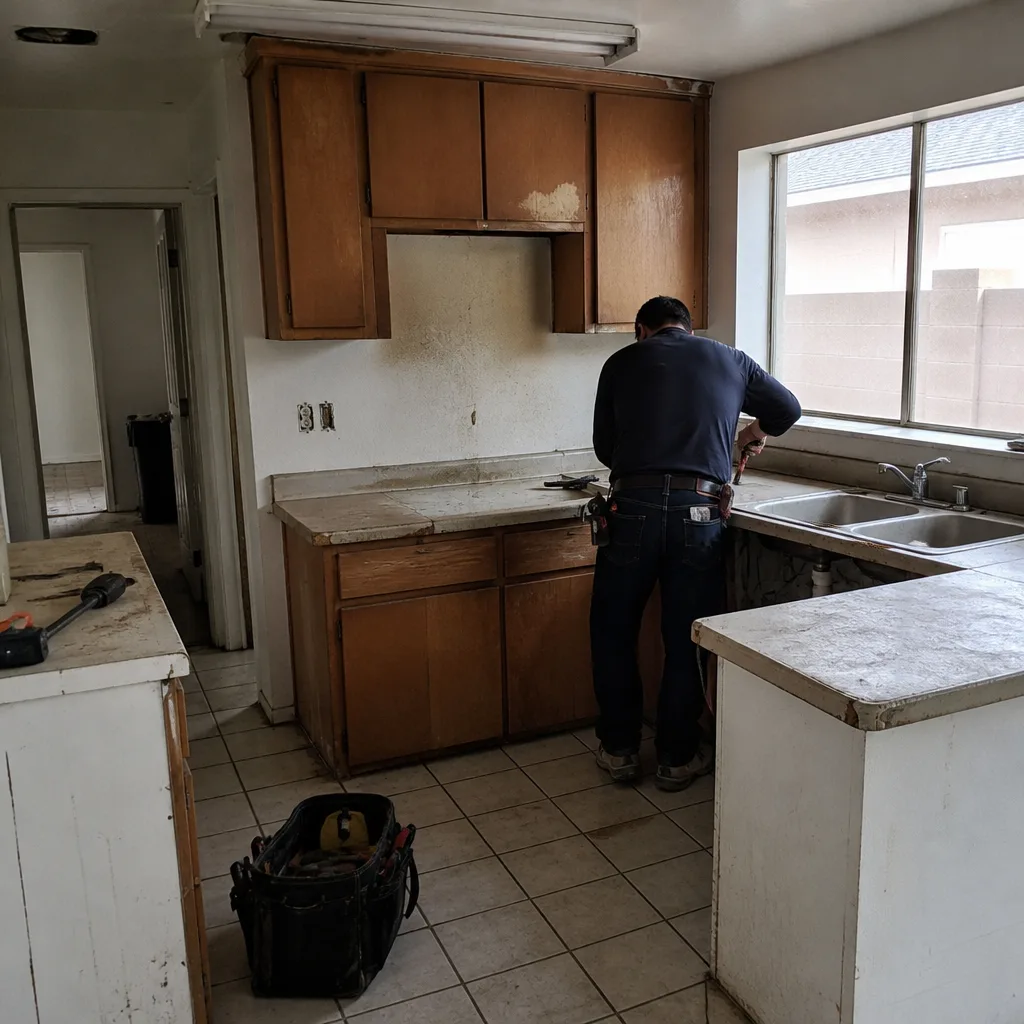 Before
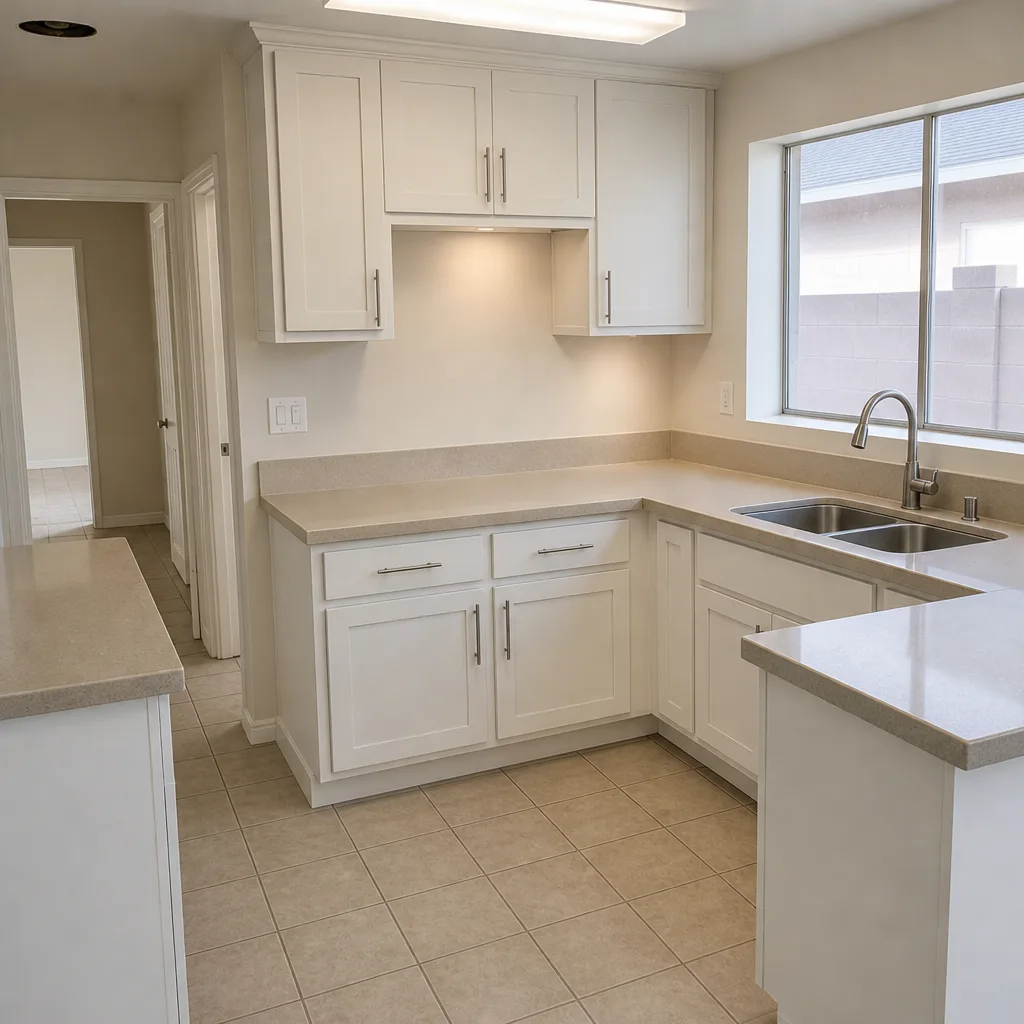 After
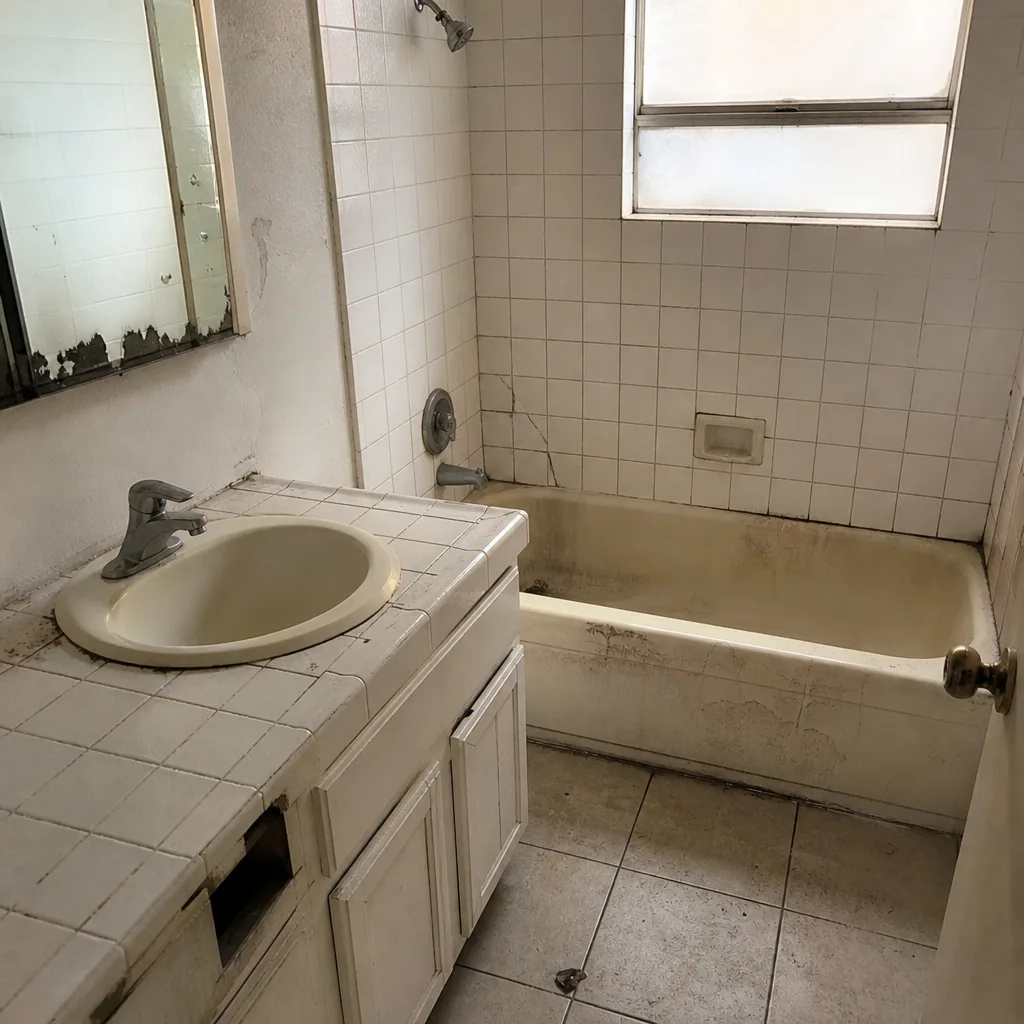 Before
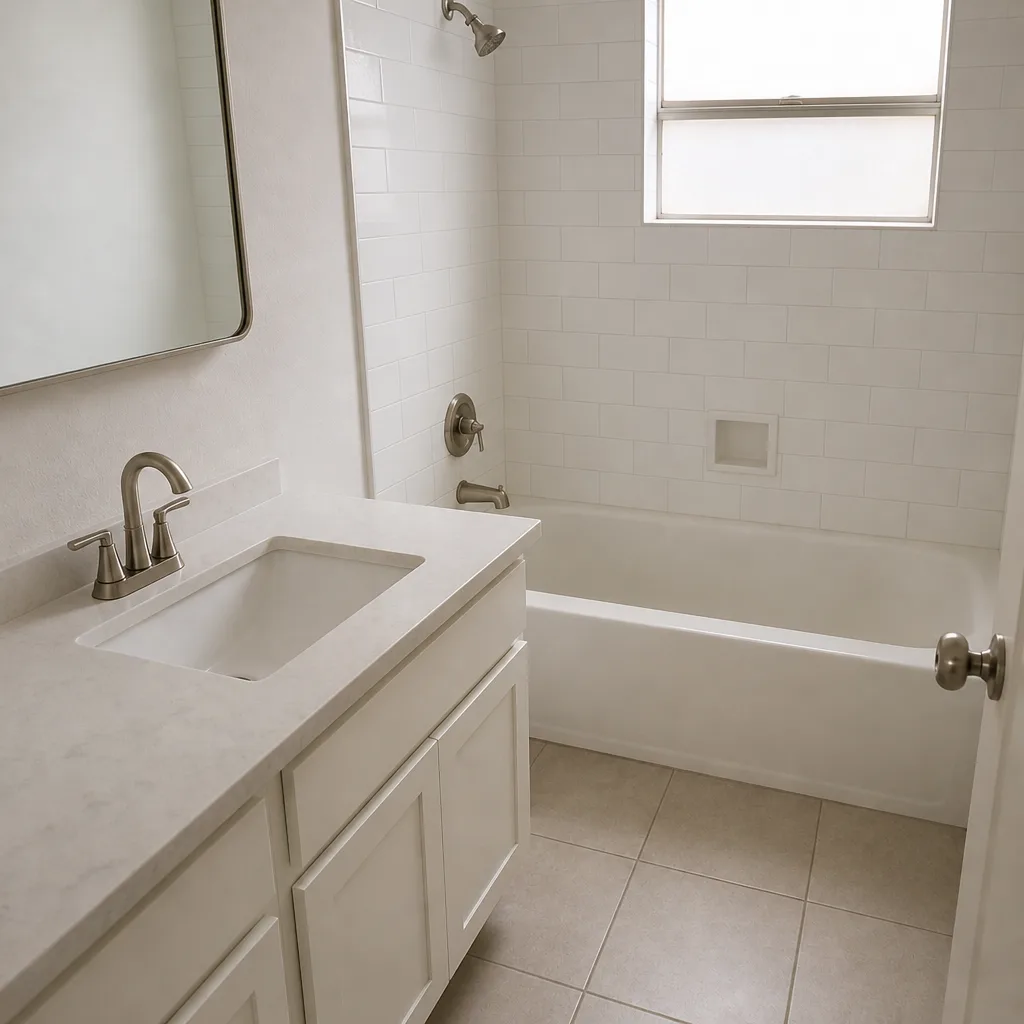 After
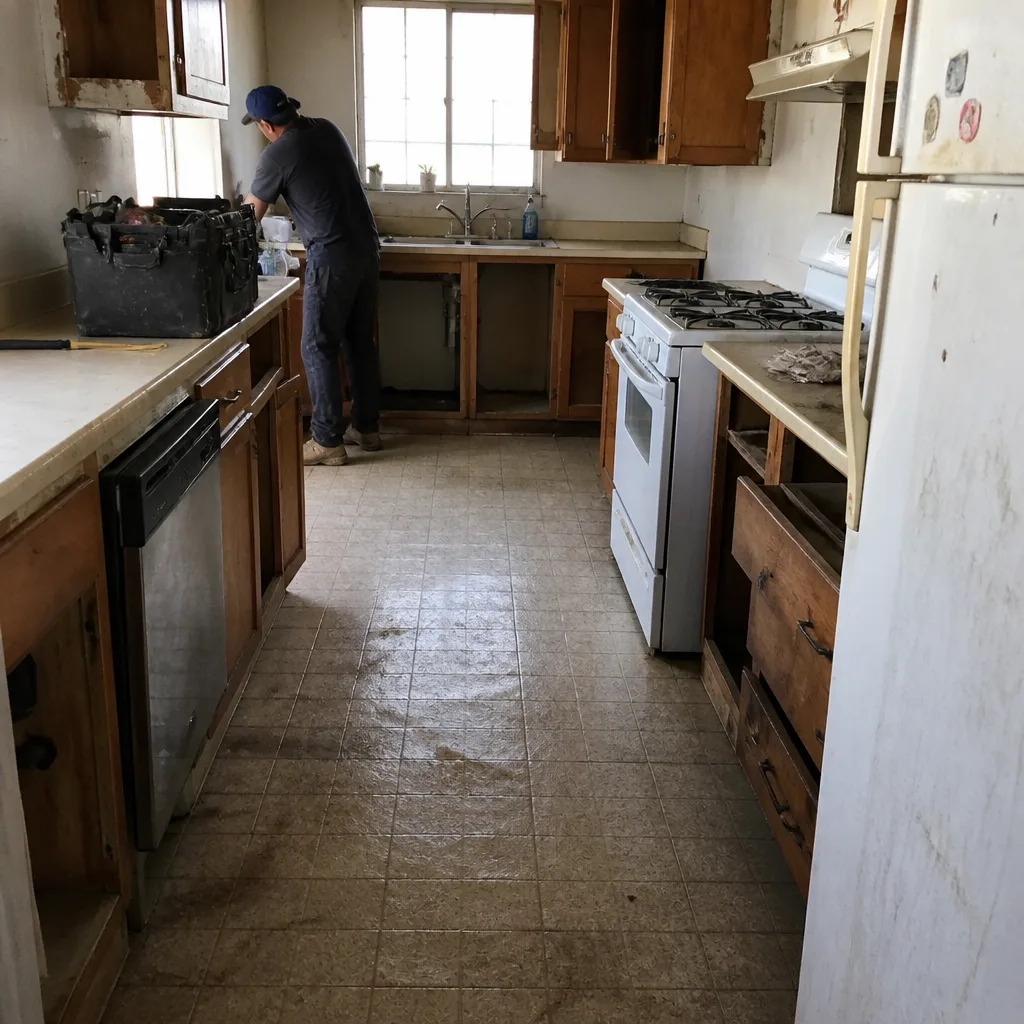 Before
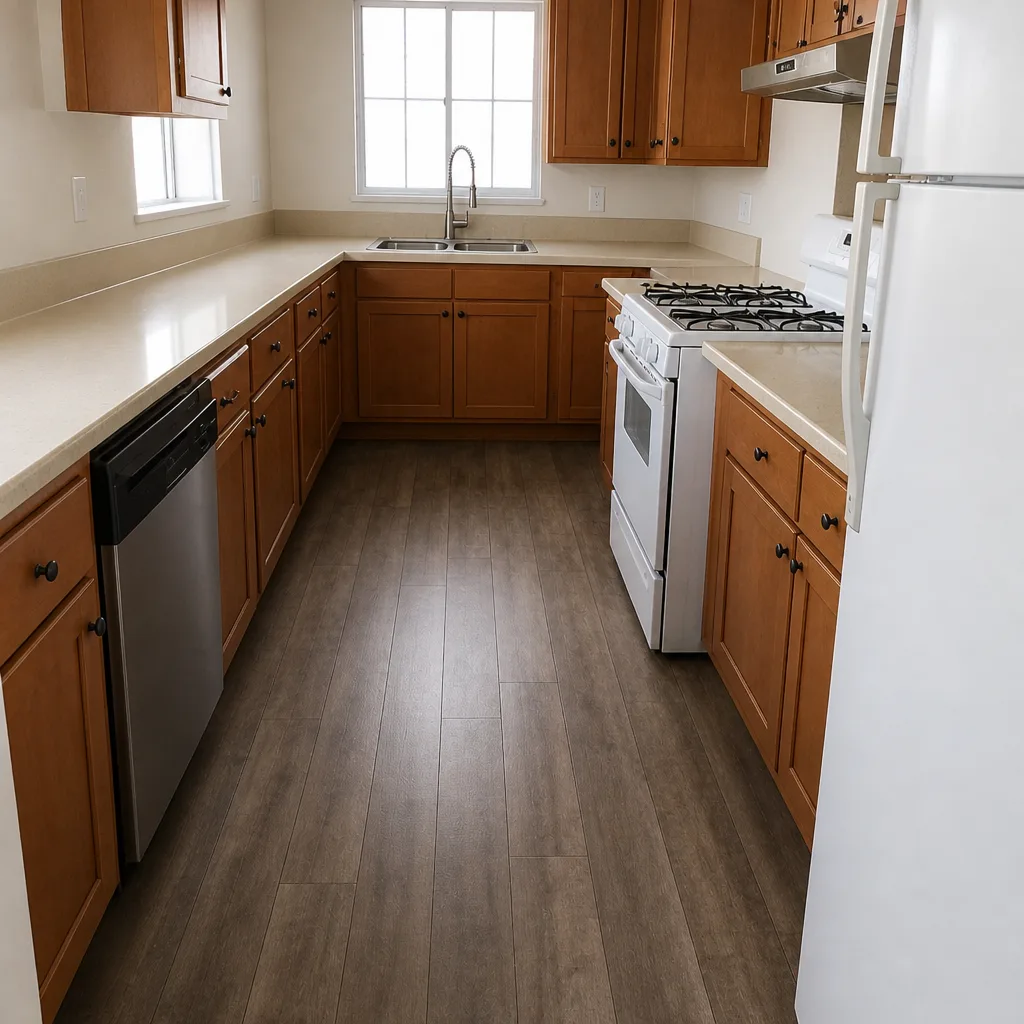 After
When to Call a Professional
Call a professional when the problem is behind the tile. Re-sloping a shower pan, replacing a failed membrane, or re-bonding a drain collar all require demolition, and doing them wrong a second time costs more than doing them right once. Call us too if your North Las Vegas home was built before 2000 and you’re opening bathroom walls, because the GFCI work is a code requirement and it belongs in the written scope. If the bathroom is part of a larger remodel, we handle it under the same flat written price, and if your scope includes a driveway or exterior work on the same project, our Driveway & Pavers in North Las Vegas team quotes it on the same terms. Rowan Construction Group North Las Vegas offers free estimates in North Las Vegas. Call (844) 708-4417 to schedule yours.
Frequently Asked Questions
A re-slope repair on an existing shower typically runs $1,800 to $4,500, depending on the substrate and whether the pan is a traditional mortar bed or a bonded membrane system. The cost includes tile removal, pan reconstruction, and re-tiling. It’s the most common bathroom callback we see in North Las Vegas. Call (844) 708-4417 for an exact quote; estimates are free.
You can’t see it through tile, so the test is whether your contractor documented it. A flood test and photographs of the membrane, seams, corners, and drain bond are the standard. If your installer can’t produce them, assume the worst: a membrane replacement runs $1,200 to $2,500 in a standard shower, and the leak it prevents is far more expensive.
Not without a signed change order. Our written price includes the scope, the permits, and the warranty, and no work proceeds on a change until the change order is signed. That discipline is the reason our projects finish within a few percent of the agreed number. Call (844) 708-4417 for a written estimate before any work starts.
Yes. Electrical, plumbing, and mechanical work in a bathroom remodel requires permits in North Las Vegas, and the inspector will require GFCI protection on the bathroom circuit when the walls are open. Permits are in the written scope, and we schedule the inspections. Call (844) 708-4417 for a quote.
A standard bathroom remodel takes about three to five weeks after demolition, and catching slope, membrane, drain, and ventilation issues before tile is set is what keeps it on that timeline. A mid-project re-slope or membrane failure adds one to three weeks and several thousand dollars. Call (844) 708-4417 to talk through your timeline.
If we don’t do it right, we make it right, within 365 days of project completion. It’s backed by the Haven Standard, not a handshake, and it’s printed on every quote. Call (844) 708-4417 for a free estimate and a written copy of the promise.
The Bottom Line
Bathroom remodel failures cluster around details you cannot see after the tile is set: shower pan slope, the waterproof membrane, the drain-to-liner bond, and ventilation. Check each one before tile goes down, with a 4-foot level, a tape measure, and a photo record that goes into the project file. Add the GFCI and caulked movement joints, and you’ve covered most of the ways a bathroom goes wrong in North Las Vegas. If your contractor won’t document the membrane, refuse the drain inspection, or quote the electrical scope, that’s the signal to get a second opinion. We offer free second opinions on any written estimate and a written price on every project before work starts. Visit our Rowan Construction Group North Las Vegas home page for the full trade list, and read about our Fence Installation in North Las Vegas service if exterior work is on your list too.
Get Your Free Written Estimate

Call (844) 708-4417 to schedule a free estimate with Rowan Construction Group North Las Vegas. You’ll get a written price, a written scope, a written warranty, and a documented photo record of every visit. We’re background-checked, uniformed, and a live person answers the phone. If you have a competitor’s quote, bring it in and we’ll review it line by line at no charge.
Written by the team at Rowan Construction Group North Las Vegas.