Last updated November 18, 2026


Free written scope consultation - allowances, timeline, and change-order rules on paper before a single trade is scheduled
Fence Installation Troubleshooting: Common Problems and How to Fix Them
A leaning fence post is not a post problem. It is a footing problem. Reset that post in the same hole with fresh concrete, without widening the footing diameter, and you’ll be looking at the same lean after the next wind season. We’ve torn out enough failed repairs across North Las Vegas to know the pattern: nearly every fence failure here traces back to one of two root causes – inadequate post depth in caliche soil or a wind load that was underestimated at install. This guide walks through the diagnostics that separate symptom from cause, the dollar figures to expect for each fix, and what to document so the repair holds.
Quick Answer
Most fence problems in North Las Vegas come down to two failures: posts set too shallow in caliche (a dense, calcium-carbonate hardpan that sheds water and grips concrete poorly) and fencing built without accounting for desert wind gusts. The visible symptom – a lean, a sag, a cracked panel, rust streaks – tells you almost nothing on its own. Diagnose the footing before you spend money, and fix the cause, not the surface, or expect the same failure on a 12-month cycle.
Styles & brands we work with
- Kitchen remodeling
- Bathroom remodeling
- Home additions & ADU
- Roofing
- Windows & doors
- Driveway & pavers
- Fence
Table of Contents
- How do you diagnose a leaning or falling fence post?
- Why does post depth in caliche soil cause fence failure in North Las Vegas?
- How much wind load should a North Las Vegas fence be built for?
- How do you diagnose and fix a sagging gate?
- Why do vinyl fence panels crack at the rail-to-picket connection here?
- How do you stop rust streaking on block walls from post-cap screws?
- How do you document a fence repair for insurance and warranty?
- What does fence repair cost in North Las Vegas?
How do you diagnose a leaning or falling fence post?
Excavate about 6 inches around the base of the post before you decide anything. What you find in that hole tells you which of two failures you’re dealing with, and each requires a different fix.
- Footing intact, post rotated inside it. The concrete collar is solid and unmoved, but the post has twisted or shifted within the pour. This is a connection failure – the bond between post and concrete broke, often because the post was set without proper mechanical keying or the concrete was mixed too wet. The fix is to re-set the post, not replace the footing.
- Footing itself has moved. The entire concrete mass has tilted, lifted, or sunk. This is a soil-load failure – the footing is too small or too shallow for the load the wind and soil are applying. Widening the footing diameter and deepening the set is the only lasting repair. Re-pouring at the same spec reproduces the failure.
In North Las Vegas, caliche makes the second case common. Caliche is a cemented layer of calcium carbonate that behaves almost like soft rock. A post hole dug into it can look clean and deep, but the caliche shelf stops water from draining and the concrete from bonding evenly, so footings that would hold in ordinary soil can shift here within a season of monsoon winds. We’ve seen it repeatedly in neighborhoods on the north and east sides where the caliche layer sits close to the surface.
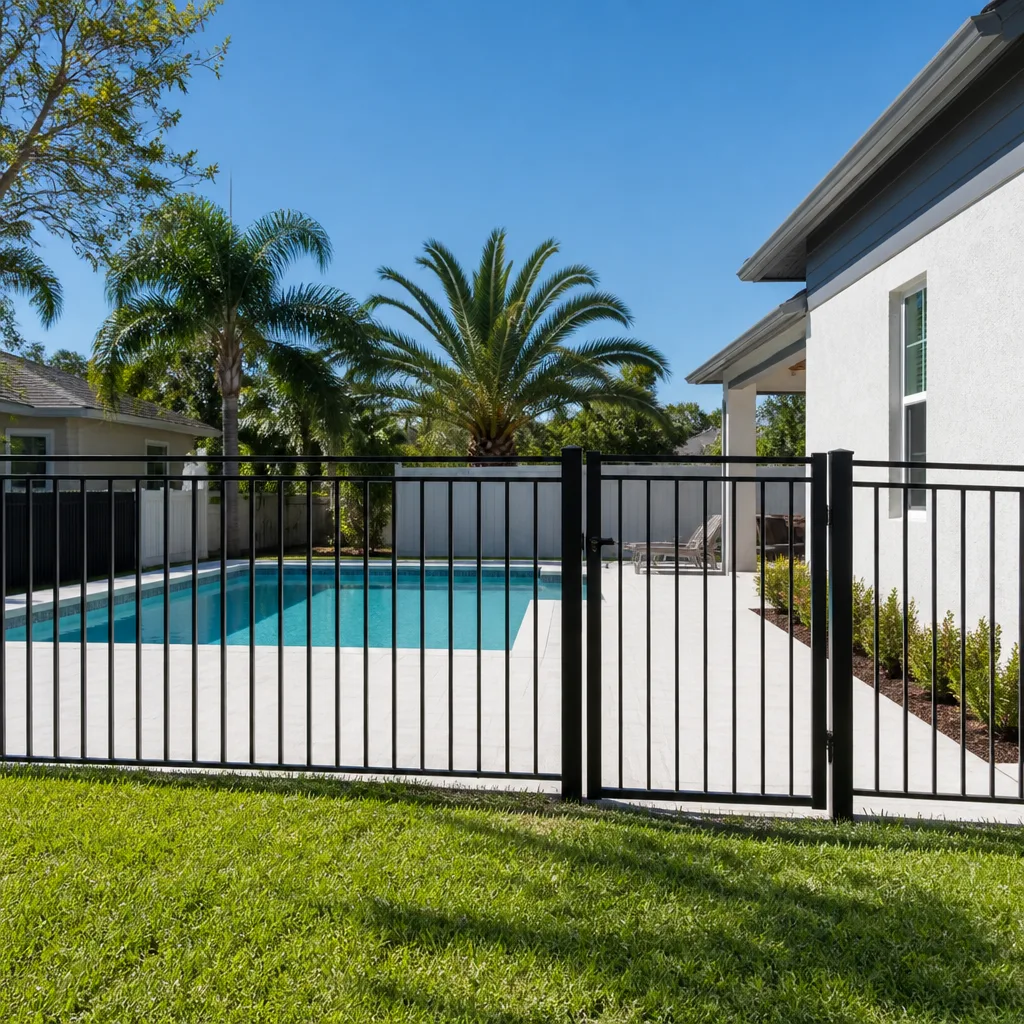
If you’re replacing a section rather than repairing a single post, the footing work is what matters most. Our Fence Installation in North Las Vegas page covers how we spec post depth and concrete for this ground, and it’s worth reading before you commit to a rebuild.
Why does post depth in caliche soil cause fence failure in North Las Vegas?
Caliche does two things that undermine fences. It drains poorly, so water pools against the base of the post and softens the surrounding soil after rain. And because it resists digging, installers often give up at a shallower depth than they should. A post that’s set 18 inches deep in caliche is not equivalent to a post set 18 inches deep in ordinary dirt – the hardpan shelf holds water and the concrete can’t grip the surrounding material the way it would in looser soil.
Proper depth in North Las Vegas soil depends on fence height, but the rule we hold to is that roughly a third of the post’s above-ground length should be below grade. A 6-foot fence with posts set 2 feet deep in ordinary soil usually needs 30 to 36 inches here, plus a wider footing to compensate for the caliche’s poor grip. Concrete should be mixed to a minimum of 3,000 PSI – a weaker mix crumbles against caliche’s expansion and contraction.
A proper reset follows this sequence:
- Dig out the old footing completely – don’t try to pour around a failed base.
- Widen the hole to at least 3 times the post diameter (10 to 12 inches for a standard 4×4).
- Set 4 to 6 inches of gravel at the bottom for drainage, since caliche won’t drain on its own.
- Set the post plumb, brace it, and pour a 3,000 PSI or better concrete mix to within 2 inches of grade.
- Cure fully – at least 48 to 72 hours – before hanging any panels or gates.
If the whole fence line is failing, patching one post is throwing money at the wrong problem. Our Driveway & Pavers in North Las Vegas team often encounters the same caliche issue on paver base prep – the soil tells you what it will carry, and you build to that number or you rebuild sooner.
How much wind load should a North Las Vegas fence be built for?
North Las Vegas sits in a high wind zone. Sustained winds and gusts regularly test fence lines, and a fence built to the same specs as one in a mild coastal climate will fail here. Wind load scales with the fence’s surface area – a solid 6-foot privacy fence catches a lot more wind than a 4-foot picket, which is exactly why post spacing and footing size need to increase with height.
A few practical rules we follow:
- Post spacing. 6-foot spacing is standard for a 4-foot fence; for a 6-foot privacy fence in this wind zone, 6 feet is the outer limit and 5 feet is safer on exposed lots. Anything 8 feet on a tall privacy fence is asking for lean.
- Post dimension. 4×4 posts are common, but 4×6 or 6×6 posts hold far better on taller privacy runs and heavier wind exposure.
- Footing size. Bigger footprint, not deeper alone – wind load is a lateral force, so a wider footing resists the push better than a narrow deep one.
- Wind direction. Lots that catch the prevailing wind with no windbreak from neighbors or structures need more than interior lots. The corner lots on the open edges of newer subdivisions are the ones we see failing first.
Underestimating wind is the second root cause of the failures here. When we quote a fence, we spec the footing for the Fence Installation trade the way we’d spec a roof – name the number, cite the spec, and document it. The Rowan Construction Group North Las Vegas home page describes the written-price-before-work standard we apply to every trade, fence work included.
How do you diagnose and fix a sagging gate?
Gate sag has three distinct causes, and each has a different fix and a different price. Diagnose before you spend, because a $40 hardware fix and a $400 post reset solve the same visible symptom – a gate that drags or hangs crooked.
The visual test: open the gate about halfway and let go. Then watch three things – the gate’s top rail relative to the post, the hinges themselves, and the frame’s diagonal.
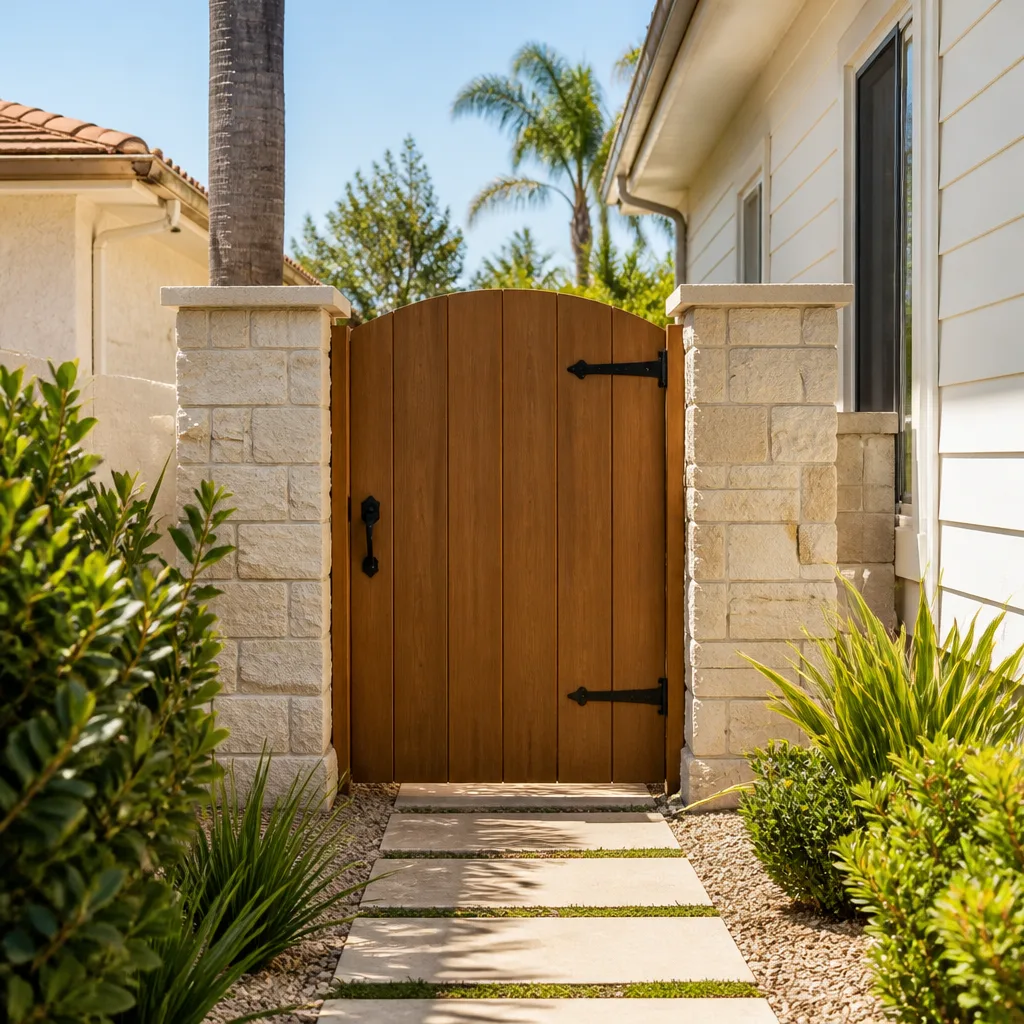
- Hinge failure. If the gate’s frame is square (measure corner to corner, and both diagonals match), but the gate drops when you lift it, the hinges are worn or the screws have pulled. Fix: replace the hinge hardware. Budget $40 to $80.
- Post movement. If the post the gate hangs on has tilted toward or away from the gate, the hinges are fine and the post is the problem. Fix: reset the post with a wider footing. Budget $200 to $400 per post. This is the case in most of the sagging gates we see in North Las Vegas, where gate posts carry extra load and fail first.
- Frame racking. If the posts are plumb but the gate frame is out of square (one diagonal longer than the other), the gate has racked. Fix: install an anti-sag cable kit or a diagonal brace. Budget $25 to $45 for the kit. A cable kit runs from the top hinge side to the bottom latch side and pulls the frame back to square.
Racking is the cheapest fix and the one most DIY gate repairs skip – people replace hinges when the frame is the problem, then wonder why the sag returns. Match the fix to the cause and the gate stays put.
Why do vinyl fence panels crack at the rail-to-picket connection here?
Thermal expansion. In North Las Vegas, vinyl fence surfaces hit 110°F and higher in summer sun, and a 6-foot panel expands roughly 3/16 inch under that heat. If the panel was installed tight, with no expansion gap, that movement has nowhere to go except into the weakest connection – the point where the picket meets the rail. Cracks start there, and they almost never start at the post, which is why the failure can be hard to trace back to install method.
Cooler climates rarely see this because the panels never reach the temperatures that drive the movement. Here, the install tolerances are tighter than installers used to mild weather realize. The correction at install time is to leave a quarter-inch expansion gap at the rail ends and to use routed rails that let the picket float rather than locking it rigid. If your panels are already cracked, the fix is to replace the affected pickets back to the nearest post – splicing a single picket usually fails again at the same joint, because the stress path is still there.
A small point worth naming: brand matters less than install tolerance on vinyl. We source from vetted manufacturers, but a premium panel installed tight will still crack. The specification sheet names the gap and the rail system; ask for both before install. Our Home Additions & ADU in North Las Vegas page covers how the same thermal-movement discipline applies to exterior envelope work, where the stakes are higher.
How do you stop rust streaking on block walls from post-cap screws?
Rust streaks down a block wall under fence post caps are a North Las Vegas complaint that comes down to one thing: zinc-plated screws. The standard post-cap fastener is zinc-coated steel, and in this climate – sun, dry, then monsoon moisture – zinc corrodes and bleeds orange down the block face. It’s cosmetic, mostly, but it’s ugly, and it signals cheap detailing.
Two solutions, and the price difference is small relative to the visual result:
- Swap to 316 stainless steel screws. About $0.80 each versus $0.15 for zinc, so the premium on a standard fence run is a few dollars. 316 stainless is the marine-grade alloy and won’t rust or streak in this climate.
- Remove caps and epoxy-fill the screw holes. For existing fences where the caps aren’t doing structural work, pull them, clean the streaks off the block with a diluted acid wash, and seal the holes with epoxy. The caps go back with stainless fasteners or not at all.
Stainless is the easier correction on a rebuild. If the streaking is already on the block, a light acid wash removes it – but it will return next wet season unless the fasteners are corrected, not just the wall cleaned.
How do you document a fence repair for insurance and warranty?
A fence repair without a record is a repair you can’t prove happened, and that matters when a storm claim or a warranty dispute comes up. Four things go in the file, before and after the work:
- Pre-repair photos. Wide shots of the failed section and close shots of the footing excavation – the 6-inch diagnostic hole matters. Date-stamp them, or use a camera app that records metadata.
- The footing depth measurement. Note the actual depth from grade to the bottom of the footing, in inches, and the post spacing. A written measurement is the number an adjuster will want.
- The concrete mix specification. A minimum of 3,000 PSI for post footings. Note the mix and the batch on the invoice.
- Post-repair photos taken 72 hours after cure. After full cure, before heavy use, with the same angles as the pre-repair set. This pair of shooting angles is what proves the repair held at a fixed point in time.
This is the same documentation discipline we apply across all seven trades – a written scope, a written price, and a photo record of what was found and what was done. Under Clause 1 of The Haven Standard, the process is the same on a fence as it is on a roof.
What does fence repair cost in North Las Vegas?
Cost is the question most homeowners ask first, so here are the actual ranges we see on fence work in North Las Vegas, broken out by repair type. These are the figures to screenshot and compare.
- Hinge replacement: $40 to $80 per gate.
- Post reset (post moves, footing fails): $200 to $400 per post.
- Anti-sag cable kit (frame racking): $25 to $45 installed.
- Single vinyl picket replacement, back to nearest post: $30 to $60 per picket.
- 316 stainless fastener upgrade on an existing fence run: a few dollars per post cap.
- Full fence section replacement (panel plus footing): $45 to $75 per linear foot depending on material and post density.
These are repair figures. A full new fence installation is a different quote, and the number depends on post count and footing spec more than on panel material. We don’t quote fence work without measuring the ground, because caliche makes our spec for this town different from a spec sheet built for other soil. A written price before any work starts is our standard on every trade.
Common Mistakes to Avoid
- Resetting a post in the same hole without widening the footing. If the footing moved, re-pouring at the same diameter gives you the same failure by the next wind season. Widen it.
- Replacing hinges when the post has moved. Measure the gate diagonals first. If the frame is square and the post is leaning, hinges aren’t your problem and won’t fix it.
- Installing vinyl panels with no expansion gap. In North Las Vegas summer heat, a tight panel cracks at the rail-to-picket joint. Leave a quarter-inch gap at the rail ends.
- Using zinc-plated fasteners on block-wall post caps. Rust streaks return every wet season. Use 316 stainless.
- Setting posts only 18 inches deep in caliche. The clean-looking hole in hardpan is misleading – go deeper, use a wider footing, and put gravel at the base for drainage.
- Leaving the grade flat against a post. Soil heaped against the base traps moisture and rots wood posts faster. The concrete collar should sit 2 inches above grade.
- Skipping the photo record. Without pre-repair and post-cure photos, a storm claim is a fight. Document it as you go.
See the difference
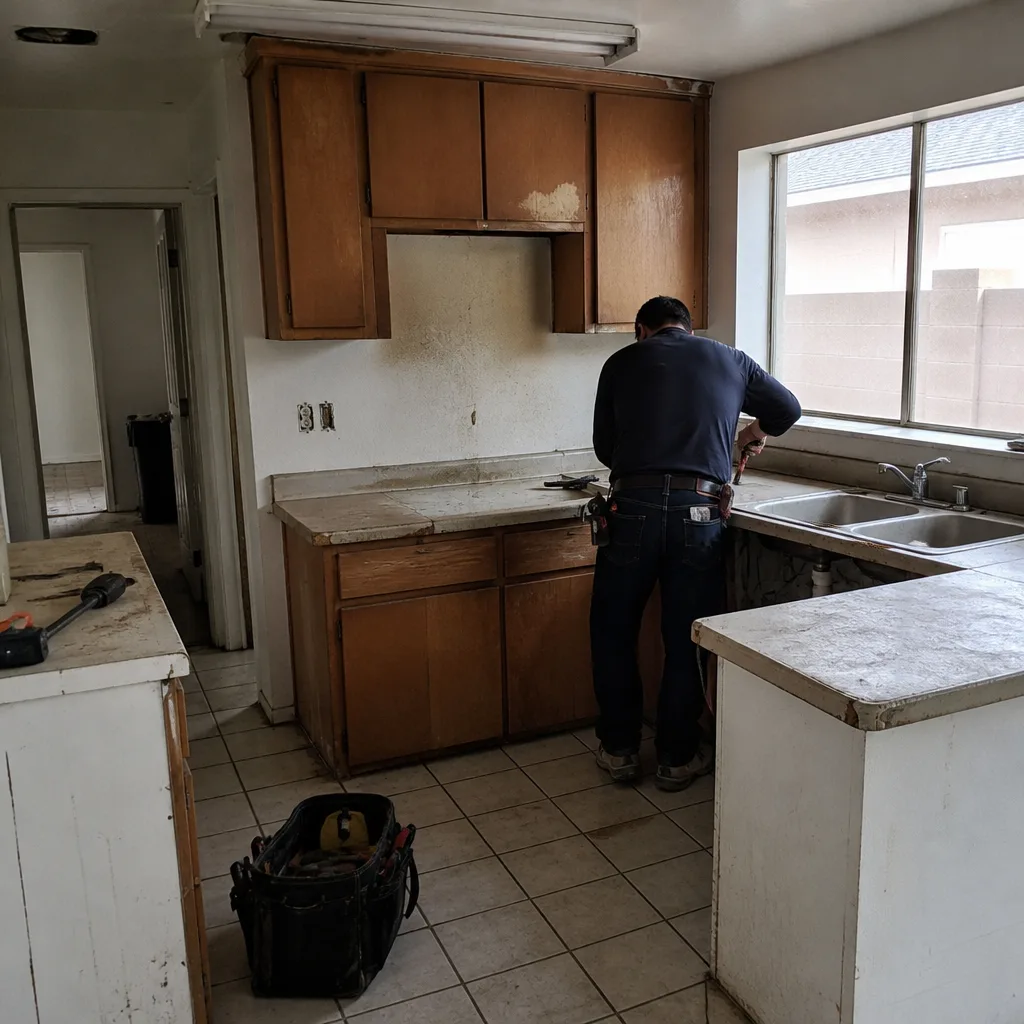 Before
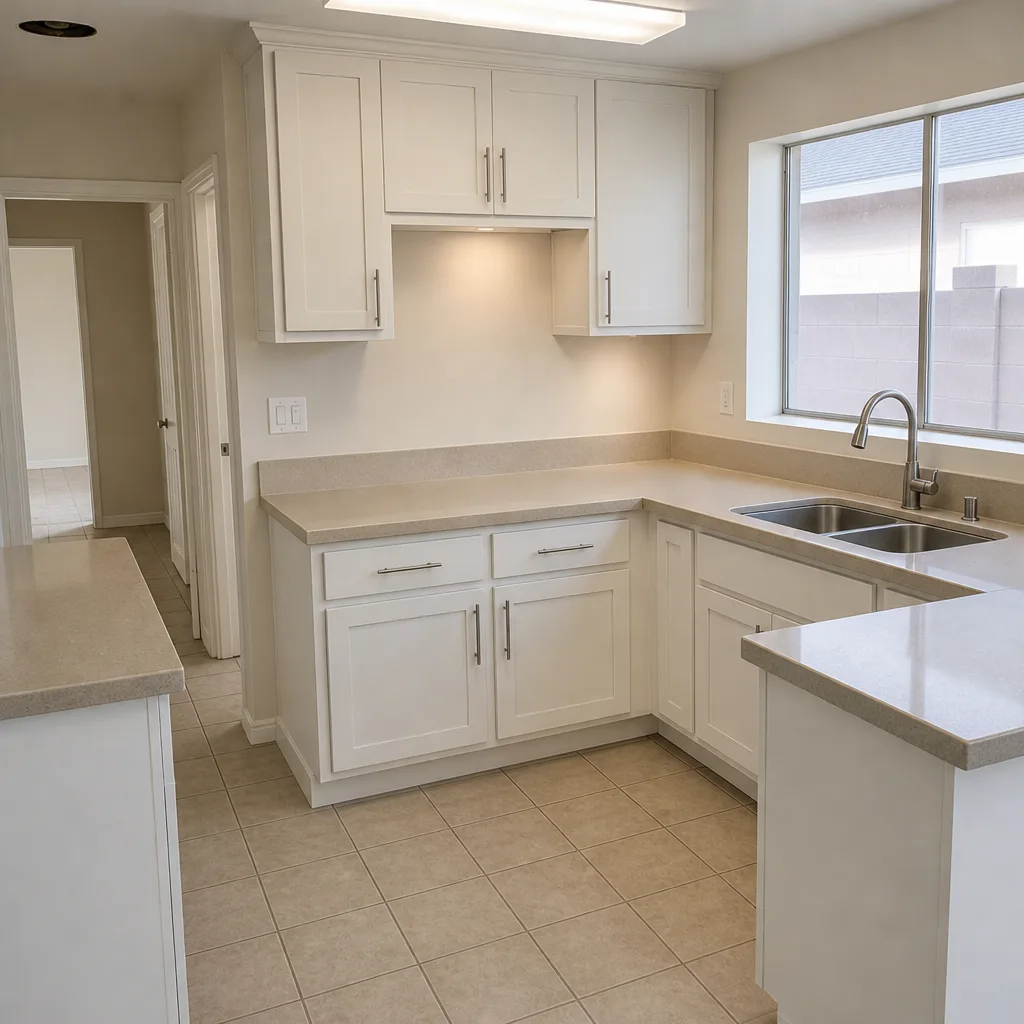 After
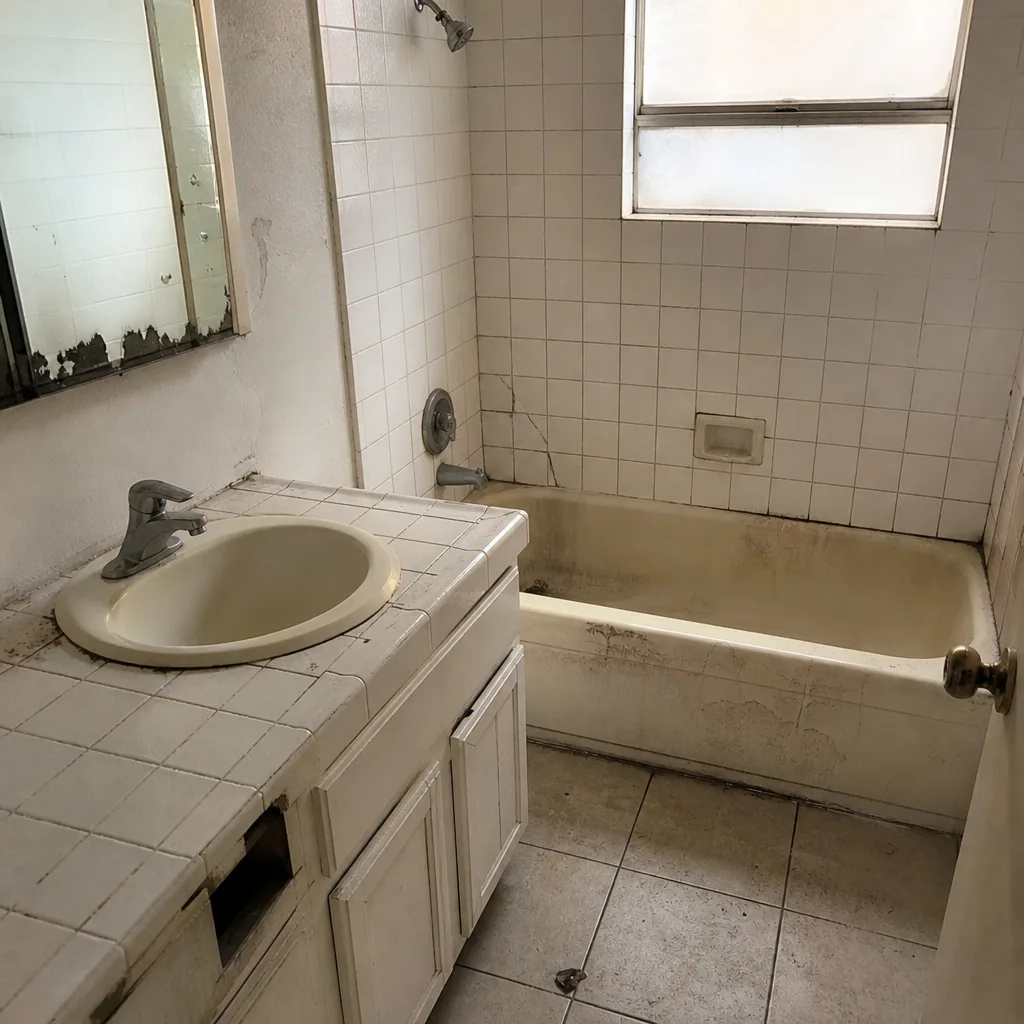 Before
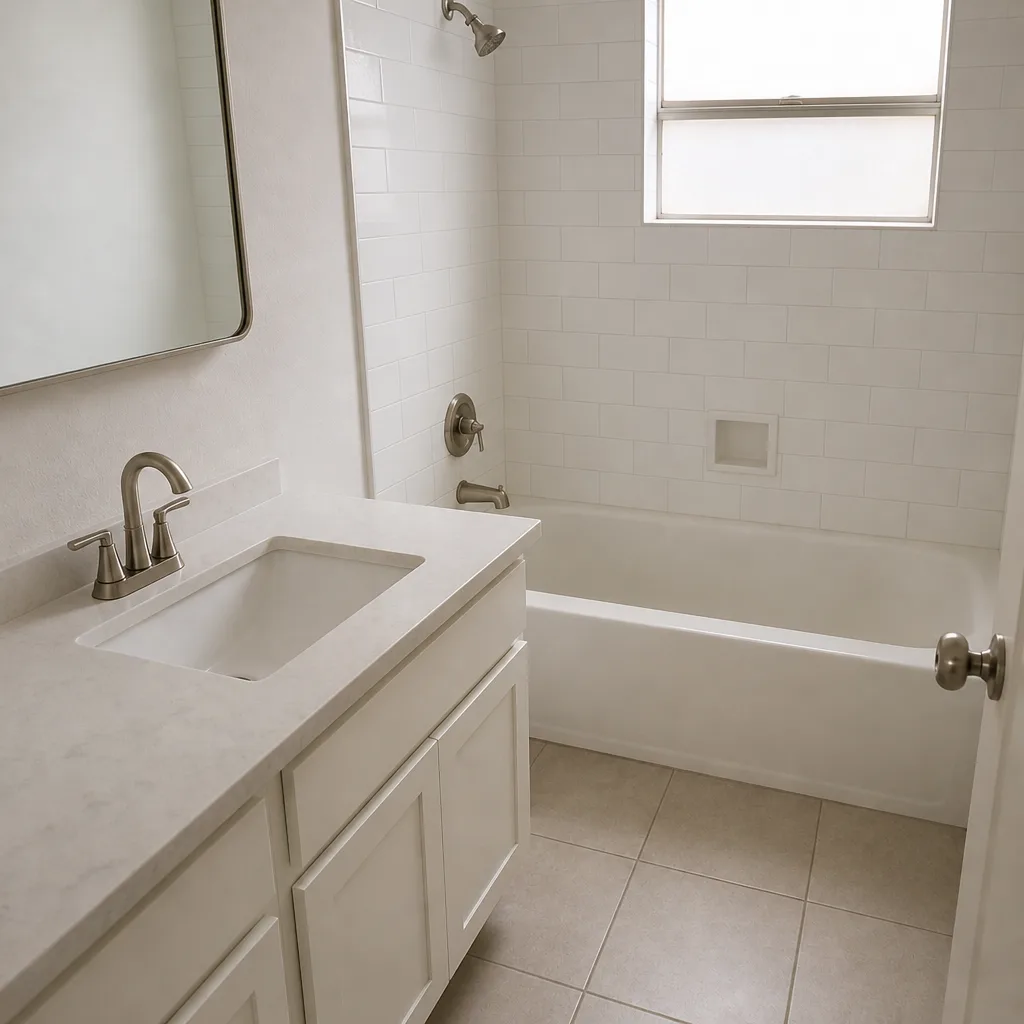 After
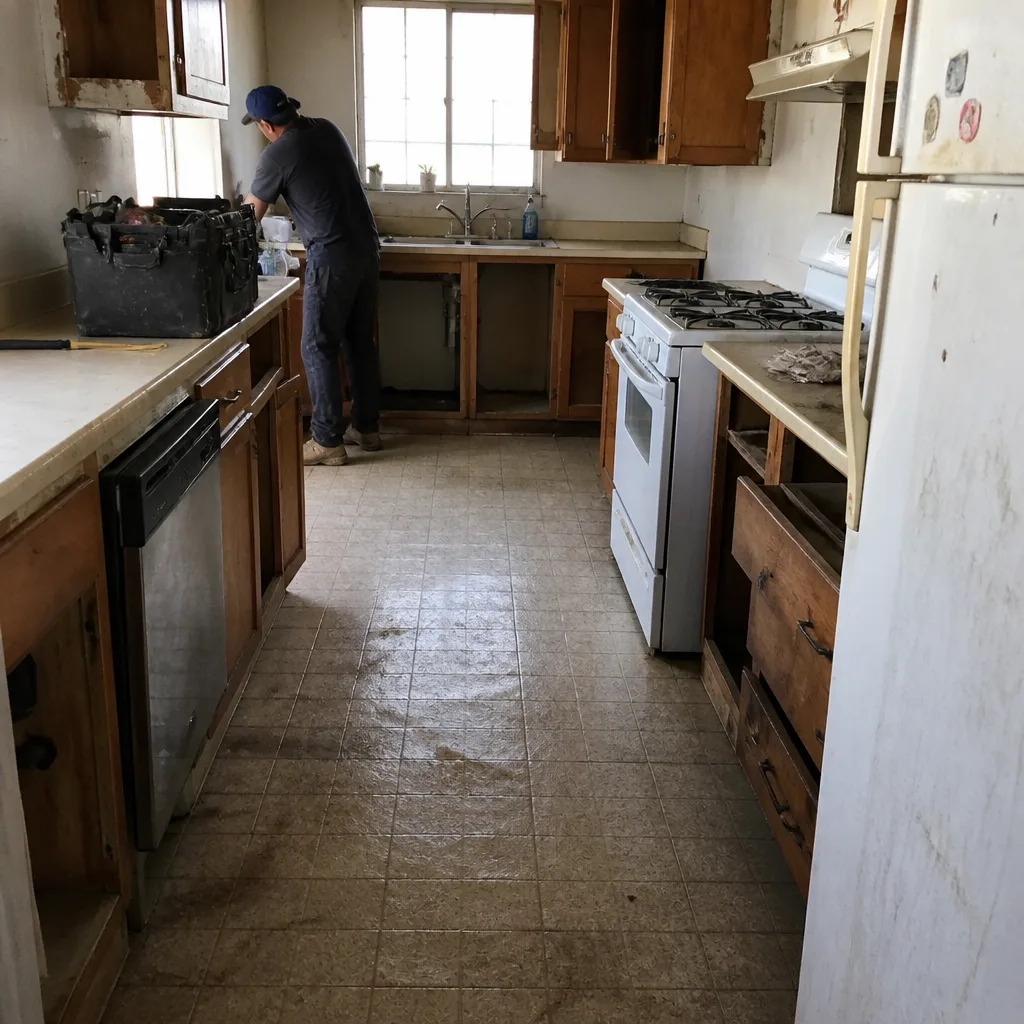 Before
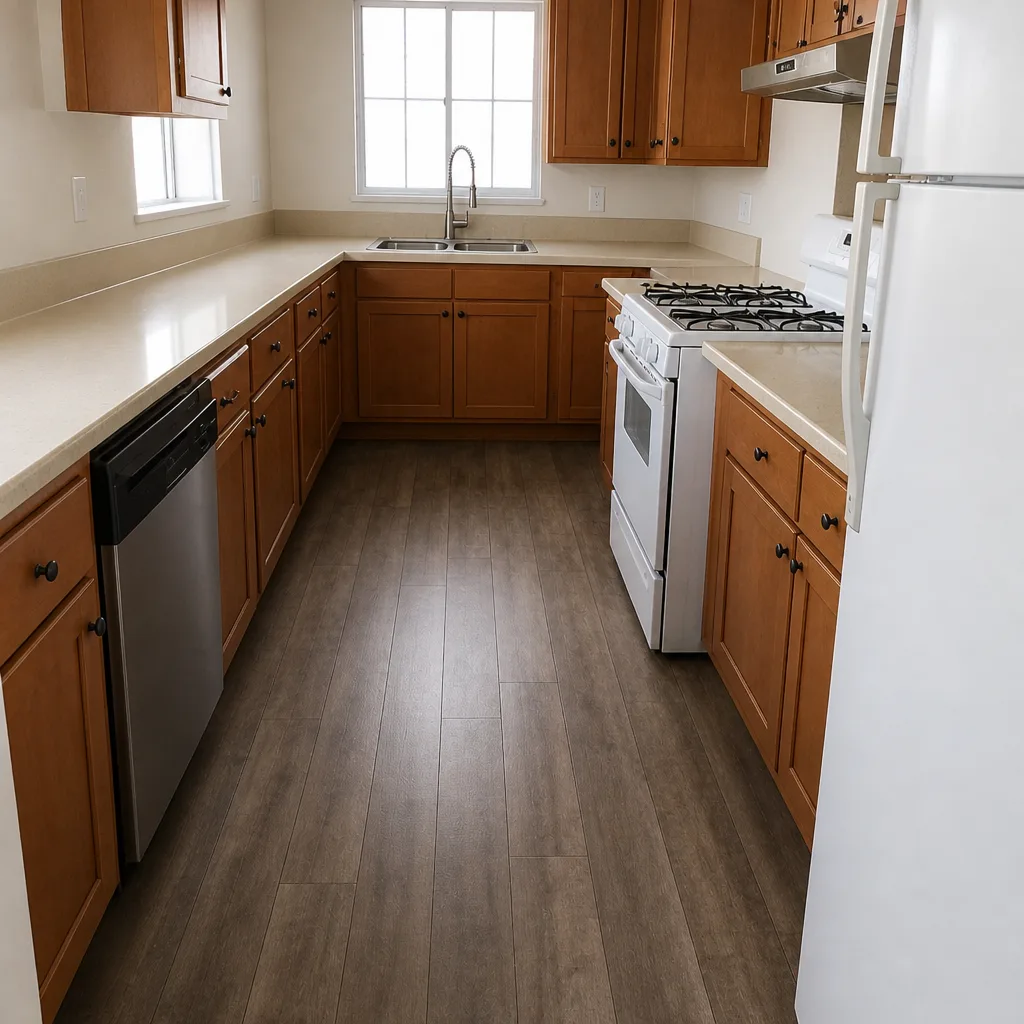 After
When to Call a Professional
Call a professional when the footing has moved rather than the post – that’s a concrete-and-soil job, not a hardware swap. Call us when a full fence line has failed and the pattern points to install spec, not a single incident. Call us when the gate post carries load and the whole section hangs off it. And call us when you’re ready to rebuild and want the footing and wind load spec written down before anyone digs. We’ve handled enough fence failures in North Las Vegas to know the difference between a repair and a rebuild, and we’ll tell you which one you’re looking at. Rowan Construction Group North Las Vegas offers free estimates in North Las Vegas – call (844) 708-4417 to schedule yours. Estimates are free, and a written price is standard on every job.
Frequently Asked Questions
Resetting a failed post runs $200 to $400 per post, depending on footing size and access. A hinge-only fix on a gate runs $40 to $80, and an anti-sag cable kit runs $25 to $45 installed. Call (844) 708-4417 for an exact quote – estimates are free.
Many homeowners can reset a single post if the footing hasn’t moved. The catch is diagnosing cause first: if the footing itself has shifted, a DIY reset in the same hole will fail again within a season. If you can’t tell which failure you have, call a pro to look before you spend the weekend on it.
Because the footing is undersized for the wind load, not because the post is weak. North Las Vegas sits in a high wind zone, and a footing set to a mild-climate spec catches the same wind but can’t hold it. Widening the footing and using 4×6 or 6×6 posts on taller runs is the lasting fix.
They can, because caliche drains poorly and holds water against the base. The fix is drainage, not the wood alone. Setting 4 to 6 inches of gravel at the bottom of the hole and keeping the concrete collar 2 inches above grade extends post life considerably.
A hinge replacement is done in an hour. A single post reset cures for 48 to 72 hours before panels or gates are hung, so plan for two to three days on that job. A section rebuild depends on post count, but the cure time is the controlling factor, not the panel work.
Both. We handle fence installation and repair, and for a full rebuild we spec footing depth and post spacing to the wind load here – not to a generic sheet. Call (844) 708-4417 to schedule a free estimate.
The Bottom Line
Fence failures in North Las Vegas start in the ground, not the panels. Caliche soil sheds water and grips concrete poorly, so posts set to ordinary-soil depth shift after the first wind season. Wind load gets underestimated on taller privacy fences, and that shows up as lean. The visible symptom – a sag, a crack, a streak of rust – points to a specific cause if you diagnose it, and the diagnosis matters because the fixes have very different prices. Handle the root cause and the fence holds. Fix the symptom and you’ll be back here in twelve months.
If you’d rather put this in the hands of a team that measures first and quotes in writing, Rowan Construction Group North Las Vegas is one call away. Call (844) 708-4417 for a free estimate on fence repair or a full rebuild. Our technicians have up to 19 years of experience, we’re licensed, and every visit includes a documented photo record as a standard deliverable. We’ll bring a free second opinion on any written estimate you’ve already got, and we’ll tell you honestly whether a repair or a rebuild makes more sense.
Written by the team at Rowan Construction Group North Las Vegas.