
Last updated November 18, 2026







Free written scope consultation - allowances, timeline, and change-order rules on paper before a single trade is scheduled
Windows & Doors Warning Signs Every Homeowner Should Know
A window installed without pan flashing looks identical to one installed correctly. So does a door set on a rough opening whose header was never checked. The evidence of a bad installation is almost always hidden by the time the homeowner walks through for final inspection: buried behind drywall, capped under trim, sealed behind the nail fin. The pieces that fail are the ones nobody photographs because nobody thinks to look yet. That is why the useful warning signs are not on the finished product. They are in the process, at specific checkpoints, before the trim goes on. In this guide we’ll show you the five checkpoints to verify during installation, the contractor behaviors that predict trouble before a single screw goes in, and the three tests you can run yourself within the first 30 days. If you own a home in North Las Vegas, the climate here makes this more urgent than most.
Quick Answer
The real warning signs of a poor window or door installation are hidden before the job looks finished. They show up as missing pan flashing, absent backer rod and sealant at the rough opening, improper shimming or fastener spacing, a nail fin that never integrates with the housewrap, and head flashing lapped the wrong way. Check these five steps before trim is installed, confirm the glass unit’s label matches the spec, and run a hose, thermal, and operation test within 30 days.
Styles & brands we work with
- Kitchen remodeling
- Bathroom remodeling
- Home additions & ADU
- Roofing
- Windows & doors
- Driveway & pavers
- Fence
Table of Contents
- Five Installation Checkpoints to Verify Before Trim Goes On
- What “Replacement in Kind” Really Means (and the Header Check Most Contractors Skip)
- The Contractor Behaviors That Signal Trouble Before Installation Starts
- Verifying the Insulated Glass Unit: SHGC, Low-E, and the Label You’ll Never See Again
- Three Post-Installation Tests to Run Within 30 Days
- Why North Las Vegas Homes Age Windows and Doors Faster
- Common Mistakes to Avoid
- When to Call a Professional
Five Installation Checkpoints to Verify Before Trim Goes On
Once trim and drywall close the rough opening, you lose the ability to see the components that determine whether the installation holds water and air for the next 25 years. These five checkpoints are worth photographing on your phone while the wall is still open. Ask your installer to walk you through each one, or ask for the documented photo record of that stage. A contractor who expects this question has the evidence ready. One who bristles at it is telling you something.
- Pan flashing presence and slope. Pan flashing is the rigid sill pan that sits under the window and directs any water that gets past the sash back out to the exterior. It must be present, it must have a positive slope toward the exterior, and its ends must turn up at the sides (an “end dam”). A flat pan is worse than no pan: water pools.
- Foam backer rod and sealant at the rough opening perimeter. The joint between the window frame and the rough opening should be filled with backer rod (a closed-cell foam tube) and sealed with a rated sealant. Foam sealant alone, sprayed into the gap, is not the same thing. Backer rod controls the sealant’s depth so it flexes instead of cracking.
- Shim placement and fastener pattern. Shims should sit at the sill corners, at the lock and hinge points of operable units, and evenly along the head. Fasteners go through the shims, not beside them, and about every 12 to 16 inches along the perimeter per manufacturer spec.
- Nail fin integration with housewrap. The nail fin is the flange around the unit that fastens to the sheathing. The weather-resistive barrier (housewrap) must lap over the fin on the sides and bottom, and under it at the head. Wrong-side lapping is one of the most common water-intrusion causes we see on re-inspection.
- Head flashing overlap. Metal or membrane head flashing goes over the top of the nail fin and tucks under the weather barrier above. It must shed water toward the exterior. In our experience in North Las Vegas, wind-driven rain during the monsoon months is exactly the test that exposes a reversed head flashing.
None of these checkpoints require you to be a licensed installer to verify. You are checking for presence, orientation, and pattern, not doing the work. If pan flashing is absent, stop the job until it’s installed.
What “Replacement in Kind” Really Means (and the Header Check Most Contractors Skip)
“Replacement in kind” is a term you’ll hear from installation crews. It means the new unit is the same size, same type, installed in the same opening without structural modification. It’s a legitimate scope for many jobs because no structural work is being done. It becomes a warning sign when a contractor uses it as a shorthand for “we don’t need to look at what’s holding up that wall.”
The header is the horizontal structural member above every window and door opening. It carries the load of the wall above down to the surrounding framing. When you enlarge an opening, the header must be checked against span tables and code requirements for the new width. Even two inches of extra opening width can matter, because the header’s load rating is tied to its span. A door opening that goes from 32 inches to 34 inches sounds trivial. If the header above it is a non-structural member or undersized for the new span, you have a code violation and an actual structural problem.
What this means in practice:
- A contractor who does check the header will often recommend a structural engineer’s review or a building department inspection before enlarging any structural opening. That is the correct, cautious answer.
- A contractor who skips the check, calling it “replacement in kind,” is either not understanding the scope or is avoiding the cost and time of a permit and inspection.
- On North Las Vegas homes, many of which were built between the mid-1990s and the mid-2000s with engineered wood headers, the original header may already be near its code minimum for the original opening. There is no margin for a wider one.
If the scope includes enlarging any opening, ask to see the header detail in writing on the plan or scope. If there isn’t one, ask why. Under the way we work at Rowan under The Haven Standard, a structural change requires a signed change order with the header detail spelled out before any framing is touched. That is not a slogan; it is a documented process step, and it is what keeps a project within a few percent of the agreed price instead of ballooning mid-course.
Enlarging an opening often sits inside a bigger project – a kitchen pass-through, a new slider to a patio, a reworked entry. If yours is part of a larger plan, it’s worth reading our Home Additions & ADU in North Las Vegas guide to see how structural scope is documented.
The Contractor Behaviors That Signal Trouble Before Installation Starts
Two windows on the same wall can be installed differently, and the homeowner can’t tell them apart at final walkthrough. That is why the most predictive signal of a bad installation is the contractor’s behavior before the job starts. Three behaviors, in particular, give you the answer early.
No permit pulled
Most jurisdictions require a permit for window or door replacement when the size of the opening changes, the unit type changes, or the opening is enlarged. Even like-for-like replacement requires a permit in many areas. A contractor who waves the question off is a contractor who has committed to not being inspected. If the permit isn’t pulled, nobody with the ability to stop the job is checking the flashing, shimming, or fastener spacing. In North Las Vegas, a permit and the associated inspection are the cheapest insurance in the job.
No written measurement confirmation
Every window and door installation starts with field measurement. A conscientious contractor confirms in writing the width, height, depth, and rough opening dimensions before ordering. When those measurements are not confirmed in writing, you get “wrong size” deliveries, refabrication, and schedule slips, and worse, you get units that don’t fit the opening properly, forcing the installer to make up the difference with a large foam gap. Foam-filled gaps over 1/2 inch are a red flag: they accommodate sloppy measurement, not good work.
No product specification on the signed contract
The signed contract should specify the manufacturer, product line, model, glass spec (Low-E coating, SHGC, U-factor), glazing type (double-pane vs. triple-pane), hardware finish, and screen type. If a spec is missing, you cannot confirm what gets delivered. The framed glass label is the only place to verify the glass spec after the fact, and it disappears under trim. Contract language should include the spec, and the delivered unit should match it.
We use this written-price-before-any-work rule in every job, every trade. The written scope is the point of the process, not an add-on.
Verifying the Insulated Glass Unit: SHGC, Low-E, and the Label You’ll Never See Again
The insulated glass unit (IGU) is the sealed sandwich of two or more glass panes, a spacer bar, inert gas fill, and a Low-E coating. Every one of those components affects how the window performs. The challenge is that the identification label – which lists the manufacturer, date, and glass specs including Solar Heat Gain Coefficient (SHGC) and Visible Transmittance (VT) – is on the glass edge, which gets covered by the frame during installation. Once the unit is set and trimmed, that label is gone.
Here is how to verify what you actually got:
- Ask to see the label before installation. The label is temporarily affixed to the glass edge or the spacer bar. Photograph it. Note the SHGC, the Low-E type (soft-coat vs. hard-coat), and the date of manufacture.
- Match the label to the contract. The specified SHGC on your signed contract should match the label. If your contract specifies SHGC 0.25 and the label says 0.40, the wrong glass got delivered.
- Check the Low-E appearance. Most Low-E coatings give the glass a slight tint or reflectivity – a subtle bluish, greenish, or bronze cast depending on the coating. A unit that looks “clear as water” compared to others on the same wall is often a mismatched unit.
- Confirm the argon or krypton fill. Inert gas fill improves U-factor. The label or the spec sheet should confirm the fill. Under 30% of the IGU area covers with fog after a few years is a normal life-cycle consideration; rapid fogging means a seal failure covered under warranty.
SHGC matters in North Las Vegas more than in most markets. Our summer sun angles mean that a high-SHGC unit will load your HVAC system with solar heat gain all afternoon. The label tells you what you actually bought before you can’t see it anymore.
For a full kitchen or entry remodel where windows and doors are part of the plan, the units are only as good as the rest of the envelope. Our Rowan Construction Group North Las Vegas home page lays out how we approach the trades end to end.
Three Post-Installation Tests to Run Within 30 Days
Even with the checkpoints verified, you want your own confirmation. These three tests take an afternoon, cost nothing, and give you a pass/fail answer on the pieces you can’t see.
1. The hose water test at the sill
Run a garden hose at medium pressure on the exterior sill and lower jamb area for 5 to 10 minutes. Start at the bottom corner and work up slowly. Watch the interior sill and the wall below it. Pass means no moisture, no discoloration, no softness at the drywall near the sill. Fail means water showing at the interior sill or baseboard – call the installer immediately, because that trace has already traveled further than what you see.
2. The thermal check on a cold morning
On our colder North Las Vegas mornings – most reliable in December and January – hold the back of your hand 1 inch from the frame perimeter (not the glass, the frame). Feel for a distinct cold spot or a draft. Pass means consistent cool temperature around the frame with no gust. Fail means a cold streak, which means a compromised air seal behind the trim. You can confirm with a $20 thermal leak detector from any hardware store; a spot reading more than 5°F below the surrounding wall is worth a call.
3. The operation force check
Open and close each operable unit – slider, casement, awning, or door – three times. Pass means smooth, even movement with no binding, no squeak, and the latch engaging first try. A unit that forces the installer to use two hands, or that catches when opening, is not shipping correctly. On sliders, the panel should glide with one finger. Any binding is usually a shimming error that shows up as premature roller or hinge wear within 18 months.
Why North Las Vegas Homes Age Windows and Doors Faster
Several things about the North Las Vegas environment make window and door installation quality matter more than the national average:
- Monsoon rain intensity. The July-September monsoon delivers short, intense rain events with high wind. A poorly flashed unit that never leaked in a light rain will leak under a 30-minute downpour. This is where head flashing orientation and pan slope are really tested.
- Wind-driven dust. Our spring and early summer wind events push fine dust, which is abrasive. Units with poor perimeter sealant at the rough opening lose their air seal faster, and the dust finds gaps.
- Attic-to-wall thermal gradients. Because most North Las Vegas homes have substantial attic volume and high summer attic temperatures, the thermal gradient at the wall moves air more aggressively through any unsealed gap behind trim. A small backer-rod-and-sealant omission becomes a measurable energy loss quickly.
- Sun exposure on the south and west elevations. IGUs with a high SHGC on these elevations fail seals and fog faster than ones with low-SHGC Low-E. The label matters here.
- Neighborhood variety. Homes near Aliante and the northern areas tend to be newer and better specified; older construction in central North Las Vegas often has original single-pane units where the upgrade decision is more complex. Each has different warning signs worth watching for.
Common Mistakes to Avoid
- Waiting until trim is installed to inspect. By the time you walk the finished job, the five checkpoints above are behind drywall. Ask at the framing and flashing stage.
- Confusing “no water inside” with “watertight.” Small leaks travel behind the wall for hours before showing at the baseboard. Water behind the wall after the first monsoon is already doing damage you can’t see.
- Enlarging an opening without a header check. A door that goes from 32 to 34 inches sounds minor but changes the header’s structural job. Skipping the check is a code violation waiting for an engineer’s letter.
- Assuming the delivered unit matches the spec. Photo the glass label before installation. If SHGC and Low-E aren’t on the label matching your contract, don’t accept the shipment.
- Accepting a “call for a quote” verbal price. Get the written price and written scope before anyone arrives. Verbal prices drift with the weather; written prices don’t.
- Not photographing the flashing stage. You don’t need to be an expert to snap a photo. The photo is the record you’ll rely on if a problem appears two monsoons later.
- Confusing cosmetic caulk failure with a serious leak. A cracked exterior caulk bead is maintenance; water inside the wall is a repair. The difference is worth three minutes of hose testing.
When to Call a Professional
Some warning signs are maintenance calls and some are not. Call a professional if you see water at the interior sill or baseboard after any rain, if a window or door’s operation has become noticeably harder or made a noise that wasn’t there last year, if fog is visible inside the glass sandwich, if the wall near a window or door feels soft or discolored, or if a unit that used to seal no longer does on cold mornings. Any of these suggests the problem is behind the trim, not in the caulk bead. A door that’s suddenly harder to close can also signal a settled header, which is a structural question. Rowan Construction Group North Las Vegas offers free estimates in North Las Vegas – call (844) 708-4417 to schedule one. Bring any written estimate from another contractor and we’ll do a free line-by-line second opinion on it.
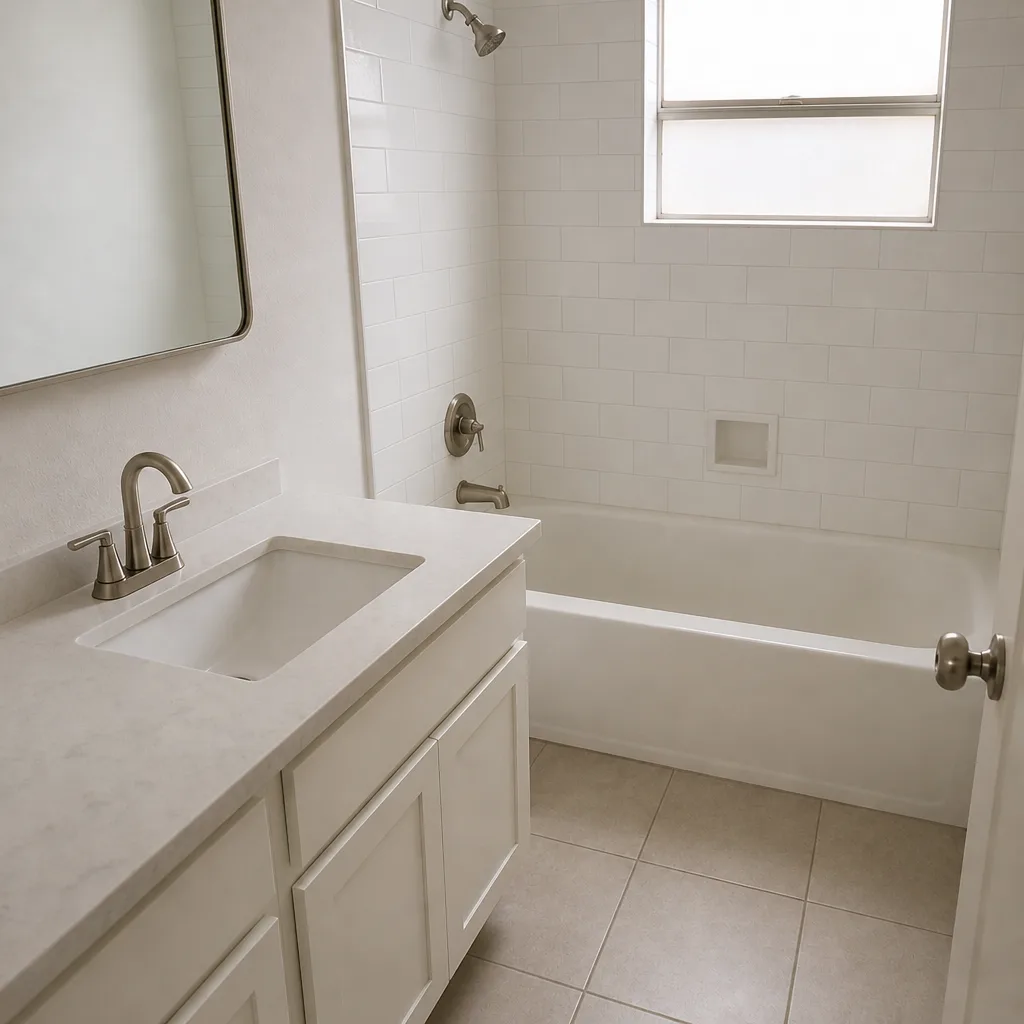
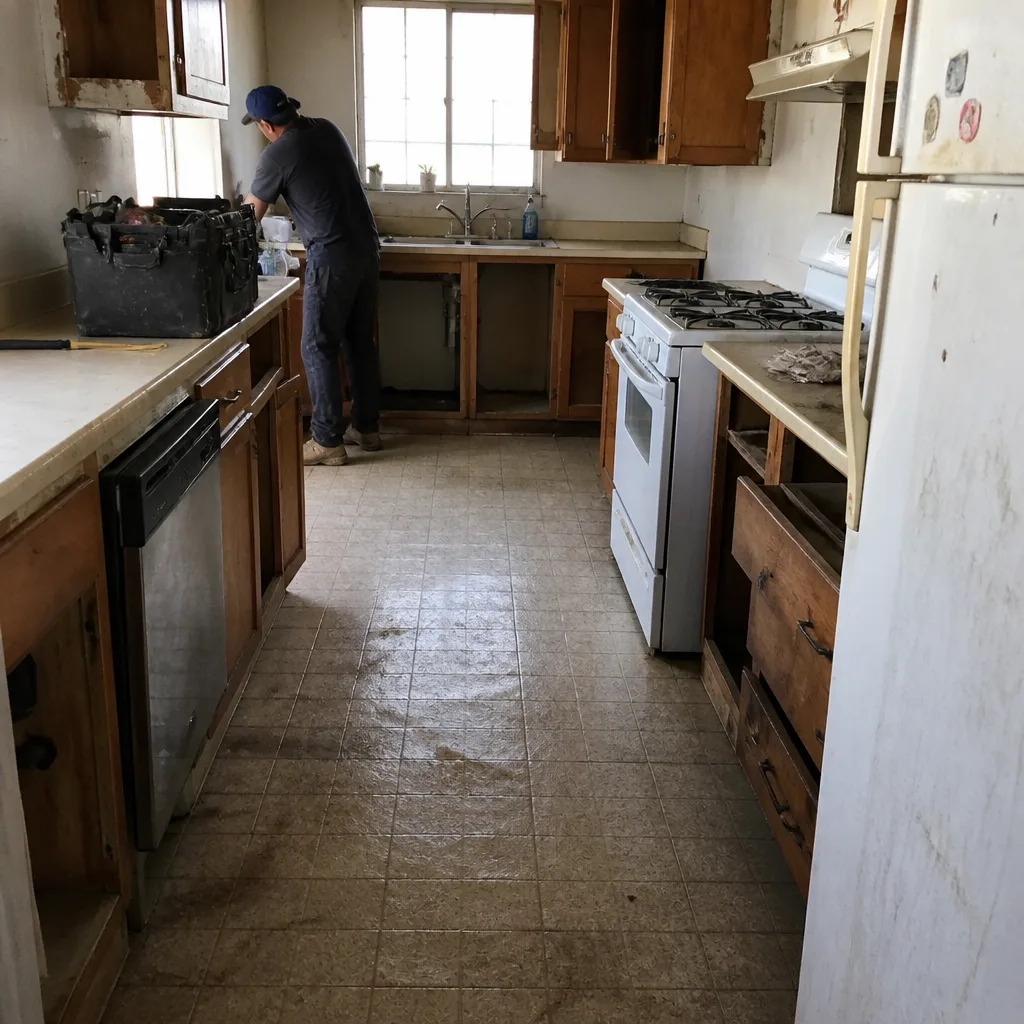
See the difference
 Before
 After
 Before
 After
 Before
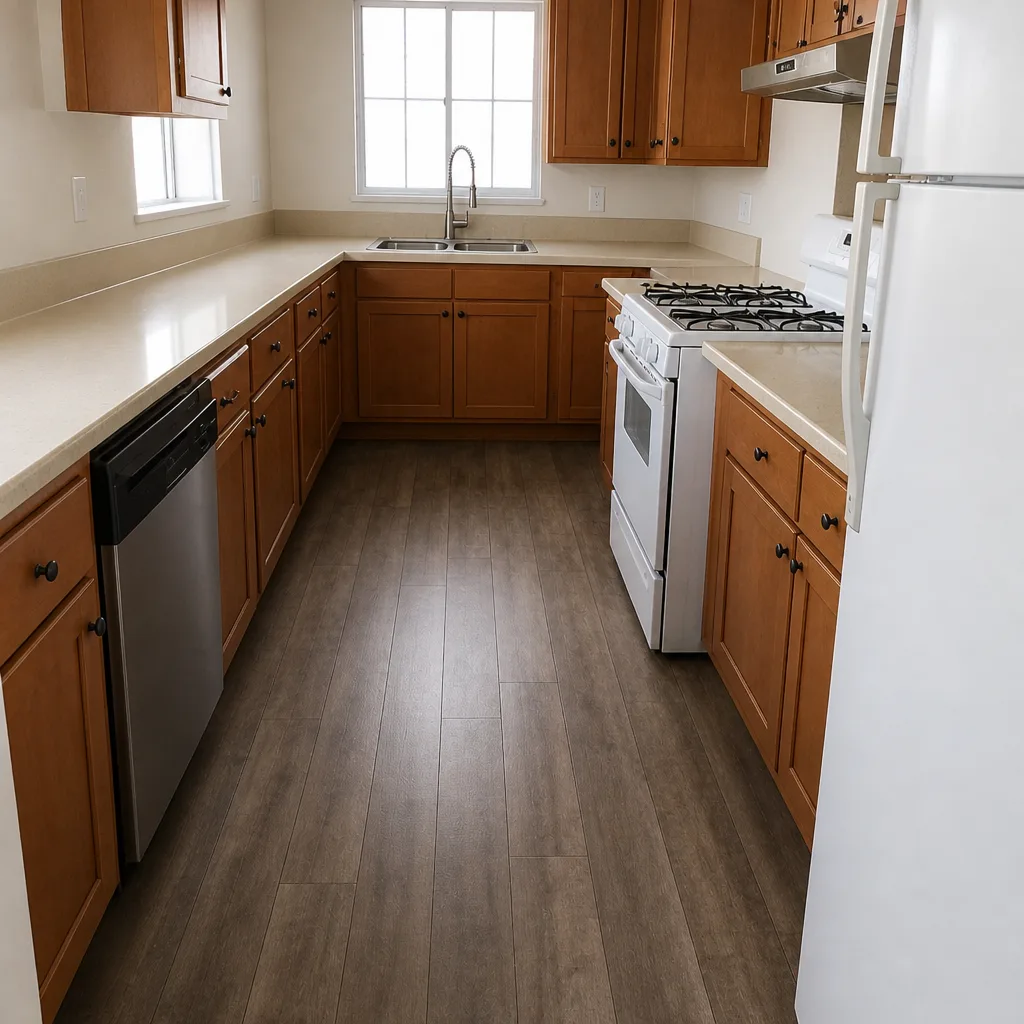 After
Frequently Asked Questions

Missing pan flashing under the window, because it’s the most common invisible failure and it guarantees water intrusion during the first sustained rain. It’s invisible at final inspection because the pan is buried under trim and drywall. Ask to see and photograph the pan flashing and its exterior slope before the window goes in.
Replacement window and door costs in North Las Vegas vary widely by unit, opening size, and whether the opening changes. Rather than put a single guess on the page, we provide a written line-item price that itemizes the unit, glazing spec, labor, flashing, and permit before any work starts. That written number is what you compare against other quotes. Call (844) 708-4417 for a free estimate on your project.
Often yes. Permits are typically required when the opening size changes, the unit type changes, or the opening is enlarged. Even like-for-like replacement requires a permit in many jurisdictions. A contractor who says no permit is needed for an opening change is a contractor you should not hire. Ask for the permit number in writing.
Not without a signed change order. Under The Haven Standard, no work on a change proceeds until a change order is signed, and every Rowan project is quoted with a written flat price and written scope. That is the discipline that has kept our projects within a few percent of the agreed cost. Call (844) 708-4417 for a free written estimate.
A like-for-like window replacement on a typical North Las Vegas home is a one-day job per elevation, with interior finish work on a second day. Door replacement with an opening change usually runs two to three days because framing, header work, and inspection slow the schedule. A full home package with multiple openings and a permit inspection typically runs three to five working days. Your written scope specifies the schedule.
“Replacement in kind” means the new unit matches the old in size and type and no structural modification is being made. It’s a legitimate scope only when no structural changes are required. If your project enlarges an opening – even by two inches – that is no longer replacement in kind, and the header needs to be checked against span requirements before the work begins.
Not reliably. The insulating glass label is on the glass edge and disappears under trim. The only usable window to verify SHGC and Low-E is before or during installation, so photograph the label and match it to the spec on the signed contract. Rowan’s documented photo record on every visit captures this stage.
The Bottom Line
The warning signs of a bad window or door installation are hidden by the time you’d notice anything you can see. Pan flashing, backer rod and sealant, shim placement, nail fin lapping, and head flashing overlap are gone under trim before final inspection. That is why the useful checklist is a process checklist, not a finished-product checklist. Verify the five checkpoints before trim goes on, confirm the header gets checked on any opening change, look at the glass label before installation, and run the hose, thermal, and operation tests within 30 days. In North Las Vegas, monsoon rainfall and sun exposure make each of these worth the 10 minutes.
Call Rowan Construction Group North Las Vegas at (844) 708-4417 for a free estimate. Bring any competitor’s written quote and we’ll do a free second-opinion line-by-line review. You get a written flat price, a written scope, and a written warranty before any work starts, plus a documented photo record on every visit so you have evidence of what was found and what was done – under The Haven Standard, with the 365-Day Done Right Promise backed by a terms page, not an asterisk. Our technicians have up to 19 years of experience, and every crew is background-checked and uniformed. Whether your next project includes Driveway & Pavers in North Las Vegas or Fence Installation in North Las Vegas alongside your window work, the process is the same: written price, signed change orders, documented record.
Written by the team at Rowan Construction Group North Las Vegas.