Last updated November 18, 2026
Free written scope consultation - allowances, timeline, and change-order rules on paper before a single trade is scheduled
DIY vs Professional Windows & Doors: What’s Safe to Do Yourself
Here’s the number that surprises most homeowners: the physical window swap is usually the cheap and easy part. In Clark County, the paperwork is what gets expensive. A homeowner who pulls a 3/0 x 4/0 double-hung and sets a new one without a permit hasn’t just saved labor. They’ve created an unpermitted alteration on record that has to be disclosed at sale, can stall a title transfer, and may trigger a retroactive inspection that opens the wall to look at what’s behind it. This guide separates the tasks that are genuinely safe to do yourself in North Las Vegas from the ones that quietly cost you money two years later. You’ll learn the flashing sequence, which warranties you void, and the real dollar comparison.
Quick Answer
Replacing a window or door “in kind” (same opening size, same rough opening, no structural change) in North Las Vegas is often permit-exempt, but installing one that changes the opening, adds a door where there wasn’t one, or alters a load-bearing header requires a permit and inspection under the Nevada Residential Code adopted by Clark County. The physical swap is within reach for a careful homeowner; the flashing, structural disclosure, and warranty exposure are where DIY goes wrong, which is why we recommend a licensed installer for anything beyond a straight in-kind replacement.
Styles & brands we work with
- Kitchen remodeling
- Bathroom remodeling
- Home additions & ADU
- Roofing
- Windows & doors
- Driveway & pavers
- Fence
Table of Contents
- What’s Permit-Exempt in North Las Vegas vs. What Needs a Permit
- The Flashing Sequence That Decides Whether You Get a Leak
- Which Manufacturer Warranties Get Voided by Self-Installation
- The Homeowner Insurance Gap Nobody Warns You About
- The Dollar-Honest Comparison: Permit + Labor vs. DIY
- The NRS and Local Code Sections That Matter
- Common Mistakes to Avoid
What’s Permit-Exempt in North Las Vegas vs. What Needs a Permit
The distinction comes down to one question: does the work change the opening or the structure? If the answer is no, you’re usually operating in the exempt zone. If it’s yes, you’re in permit territory and a licensed contractor should be pulling it, because the permit requires a licensed installer of record in most cases.
Permit-exempt (in most cases), same opening, same size
- Replacing a wood or vinyl double-hung with a new unit of identical rough opening dimensions
- Swapping a sliding door for another sliding door in the same frame
- Replacing door slabs without altering the frame or header
- Replacing glass in an existing sash (glazing only)
Requires a permit and inspection
- Enlarging or reducing any opening (cuts into the header or king stud)
- Adding a door or window where none existed (new rough opening in exterior wall)
- Replacing a door with one wider than the existing frame
- Any change to a load-bearing header, cripple wall, or structural opening
- New construction or additions, including ADU work, where window and door schedules are part of the permitted set
In our experience across North Las Vegas, the permit-exempt line is where most confident homeowners get it wrong. We’ve seen patio door swaps in the Aliante and Eldorado neighborhoods flagged at sale because the buyer’s inspector found newer construction in an opening that had no permit record. Call Clark County’s building department before you cut anything if you’re unsure which side of the line your project is on.
The Flashing Sequence That Decides Whether You Get a Leak
Flashing is the metal and membrane system that routes water away from the wall assembly. Done wrong, it creates a water intrusion path that may not show up for 2 to 3 years, long after the installer has moved on. The correct sequence is not obvious if you’ve never done it, and a single out-of-order step ruins the whole assembly.
The sequence, in order, from the bottom of the opening up:
- Pan flashing (sill pan). A sloped sill pan installed under the window, integrated with the weather-resistive barrier (housewrap) behind it. Water that gets behind the window drains to the exterior, not into the wall cavity.
- Housewrap wrapped into the opening. The wrap runs behind the window nailing flange at the sides and head, so water sheds outward over the flange, not behind it.
- Side (jamb) flashing. Applied over the nailing flanges at the sides, integrated with the housewrap.
- Head flashing. Applied over the top flange, then the housewrap or building paper applied over the head flashing (the “shingle fashion” rule – upper layers overlap lower layers, water sheds down and out).
- Sealant and trim. Backer rod and sealant at the interior perimeter, trim installed last.
The single most common error we see in North Las Vegas is head flashing taped over the housewrap instead of under it. It looks right and holds for a season or two. Then the first wind-driven monsoon rain in August pushes water behind the flange, and the moisture reads on the sheathing at the next inspection. North Las Vegas sees roughly 4 to 5 inches of rain a year, but it arrives in violent bursts, and a flashing detail that would survive Seattle drizzle will fail here. Installers who understand this sequence are the ones whose 365-day follow-up calls come back clean.
Which Manufacturer Warranties Get Voided by Self-Installation
This is the part the big-box aisle sign doesn’t mention. Most manufacturer warranties on windows and doors require installation by a licensed or certified installer, and the warranty expressly excludes defects caused by improper installation. The warranty covers the product. It does not cover what happens when the product is installed wrong.
Brands that homeowners commonly self-install and the warranty caveats to check before you buy:
- Andersen. Andersen’s written warranty excludes labor for removal and reinstallation and covers defects in materials. Installation that doesn’t follow Andersen’s published installation guide (including flashing details) is grounds to deny a claim.
- Pella (sold at Home Depot). The retail-channel Pella lines carry warranty terms that condition coverage on proper installation per Pella’s instructions; seal failures traced to improper flashing are not covered.
- JELD-WEN. JELD-WEN’s warranty includes an installation requirement clause; a failed unit pulled and found with water intrusion at the sill is a warranty fight, not a warranty claim, when the install wasn’t done to the published guide.
Some brands, like Therma-Tru for entry doors and ES Windows or ECO Window Systems for impact-rated units, work primarily through dealer or contractor channels. That means the warranty path is built around a documented installer, not a receipt from a Saturday morning. When we write a quote for a North Las Vegas window or door project, we hand the homeowner the manufacturer’s installation guide and the warranty terms side by side, so they can see what the install is required to deliver. Under Clause 1 of the Haven Standard, the price is written before anyone starts, and that includes the warranty documentation.
The Homeowner Insurance Gap Nobody Warns You About
Here’s the scenario: you install your own window, the flashing fails, water gets behind the wall, and two winters later you’re looking at rotted sheathing, a soft sill, and water staining on the interior drywall. You file a claim with your homeowners carrier. What happens next is not what most people expect.
Carriers evaluate water damage claims on one question: was the damage sudden and accidental, or was it the result of a long-term condition? Water intrusion that started with a failed flashing detail and took two years to show typically reads as “long-term,” and long-term water damage is excluded under most standard HO-3 policies. The claim gets denied, or the carrier covers only the sudden event (a burst pipe) and not the rot behind the wall.
If coverage is considered at all, the adjuster will ask for documentation: the permit record, the installer’s license, the manufacturer’s installation instructions, and evidence the flashing was done to spec. In a DIY scenario, you have none of these. The result is that the damage is paid out of pocket, and the same water intrusion that a contractor’s warranty would have covered becomes your line item.
This is one of the reasons we include a documented photo record on every visit. The customer leaves with evidence of what was found, what the substrate looked like, and how the flashing was integrated. If a carrier ever asks, it’s already in the file.
The Dollar-Honest Comparison: Permit + Labor vs. DIY
Let’s put real numbers on a standard job: replacing one 3/0 x 4/0 double-hung window in an existing opening, same size, in-kind replacement, in a North Las Vegas single-family home.
Contractor route:
- Window unit (vinyl, argon-filled, low-E, impact-rated): $650 to $1,200 depending on brand (ES Windows and ECO Window Systems are common in Southern Nevada)
- Permit (when required): $120 to $280 plus inspection
- Install labor, one window: $300 to $550
- Haul-away and disposal of old unit: $40 to $80
- Total installed: roughly $1,110 to $2,110 per window
DIY route:
- Window unit purchased at retail: $400 to $900 (big-box retail is often 15 to 25 percent higher than contractor channel, so the “savings” isn’t the unit price)
- Permit (when required): $120 to $280
- Tools you’ll need if you don’t own them: pry bar, oscillating tool, caulk gun, flashing tape, sill pan or membrane, backer rod, low-expansion foam, exterior sealant, level – $180 to $400, much of which you already own
- Flashing materials and membrane: $40 to $120
- Your time: 4 to 6 hours for a first-timer, realistically a full weekend with the flashing done properly
- Total DIY outlay: roughly $740 to $1,700 per window, plus your weekend
So the gap is narrower than it looks. The real difference shows up when something goes wrong: a mis-set window that leaks and needs the trim and siding opened to fix runs $600 to $1,400 in repair work alone, plus the interior repair. A written quote for the whole job – unit, permit if applicable, install, flashing, warranty, photo record – is often within $200 to $500 of the DIY spend once tools and disposal are counted. That’s the honest math. Free second opinions on any written estimate are standing practice for us; bring a competitor’s quote and we’ll walk it line by line at no charge so the comparison is transparent.
The NRS and Local Code Sections That Matter
Nevada adopts the International Residential Code (IRC) as the Nevada Residential Code, which the Clark County building department enforces. The sections most relevant to a window or door project:
- NRS 624 (State Contractors’ Board): governs who may contract for construction work, and the licensing requirement for a permit-pulled job. Pulling a permit as the owner-builder is legal if you own and occupy the home, but it carries inspection liability that follows the property record.
- IRC R703 (Exterior Wall Covering and Flashing): requires flashing at wall openings, and behind the wall covering, to prevent water intrusion. This is the code section your install has to satisfy.
- IRC R609 (Exterior Doorways and Windows): governs rough opening, header, and framing requirements. Any change to opening size falls under this section, which is where permits come into play.
- Clark County Building Department Special Inspection requirements: some window and door assemblies in enhanced wind zones require inspection documentation.
- NRS 113 (Disclosure of Transfer): requires disclosure of known material defects and unpermitted work at sale. This is the one that comes back to you years later.
For a broader view of how permits and written scopes apply across the trades we handle, our Rowan Construction Group North Las Vegas home page walks through the standard we hold across every project.
Common Mistakes to Avoid
- Pulling the old unit before the new one is onsite and inspected. An open wall in a North Las Vegas summer (110 degrees and dust) needs to be closed the same day. We’ve seen a two-day gap in July cost a homeowner a whole interior wall of drywall work from heat and wind-blown dust.
- Taping head flashing over the housewrap instead of under it. This is the single most common out-of-sequence error we find. Water sheds behind the flange, and the rot doesn’t show until the homeowner is standing in it.
- Skipping the sill pan because “the old one didn’t have one.” The old one may not have had it, and the old one likely leaked. The code and every major manufacturer installation guide require a positive drain at the sill.
- Changing the rough opening size “just a little.” A quarter-inch of jog in the framing turns a clean install into a shimmed, caulked compromise that fails inspection and quietly halves the unit’s energy performance.
- Assuming no permit means no inspection. Permits are public record. A future buyer’s inspector pulls them. Unpermitted work shows up in the title report and becomes a negotiation item at sale.
- Buying the retail unit without checking the dealer-channel warranty terms. The warranty is often tied to the installer, and a receipt from the big-box store doesn’t satisfy the manufacturer’s installation requirement.
- Installing over a failing substrate. We’ve seen window replacements in older North Las Vegas homes where the sheathing behind the unit was already soft. Set a new window in that and you’ve framed a leak to fail on the next monsoon.
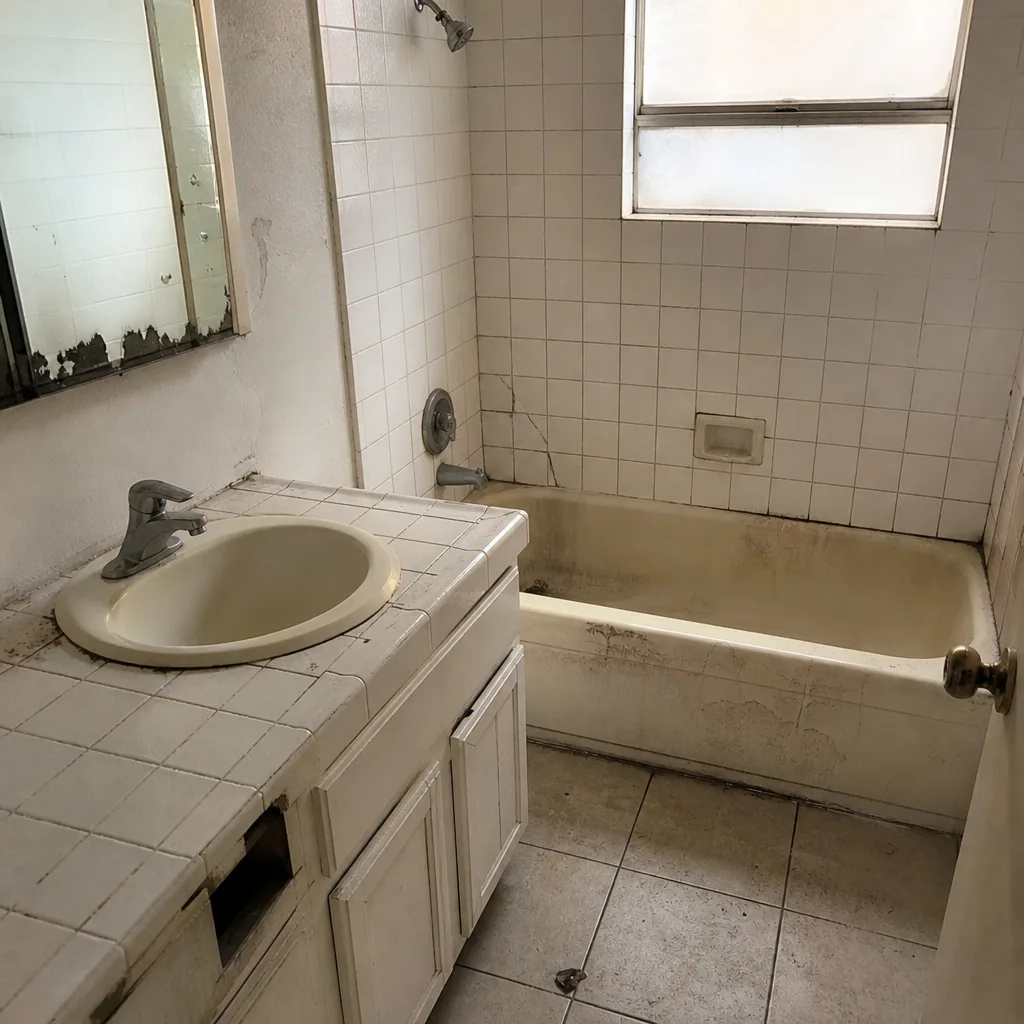
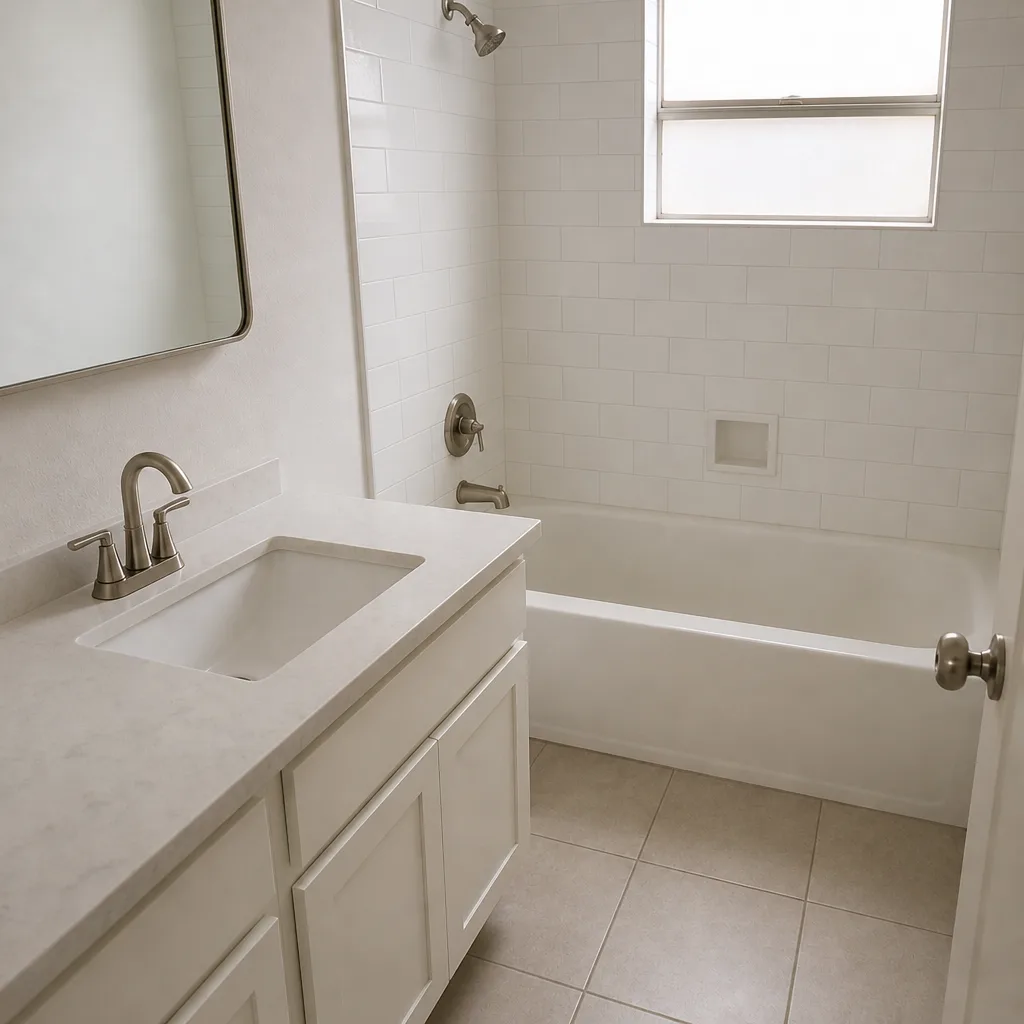
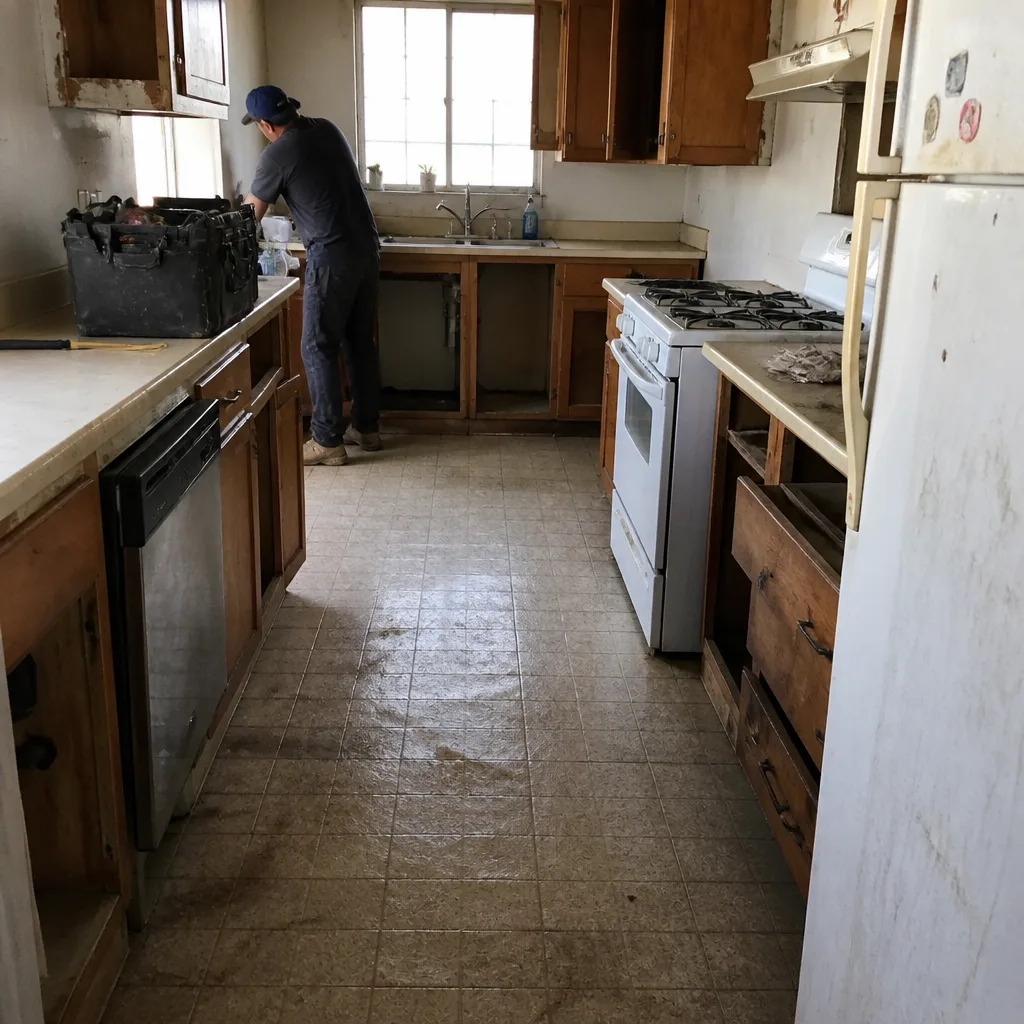
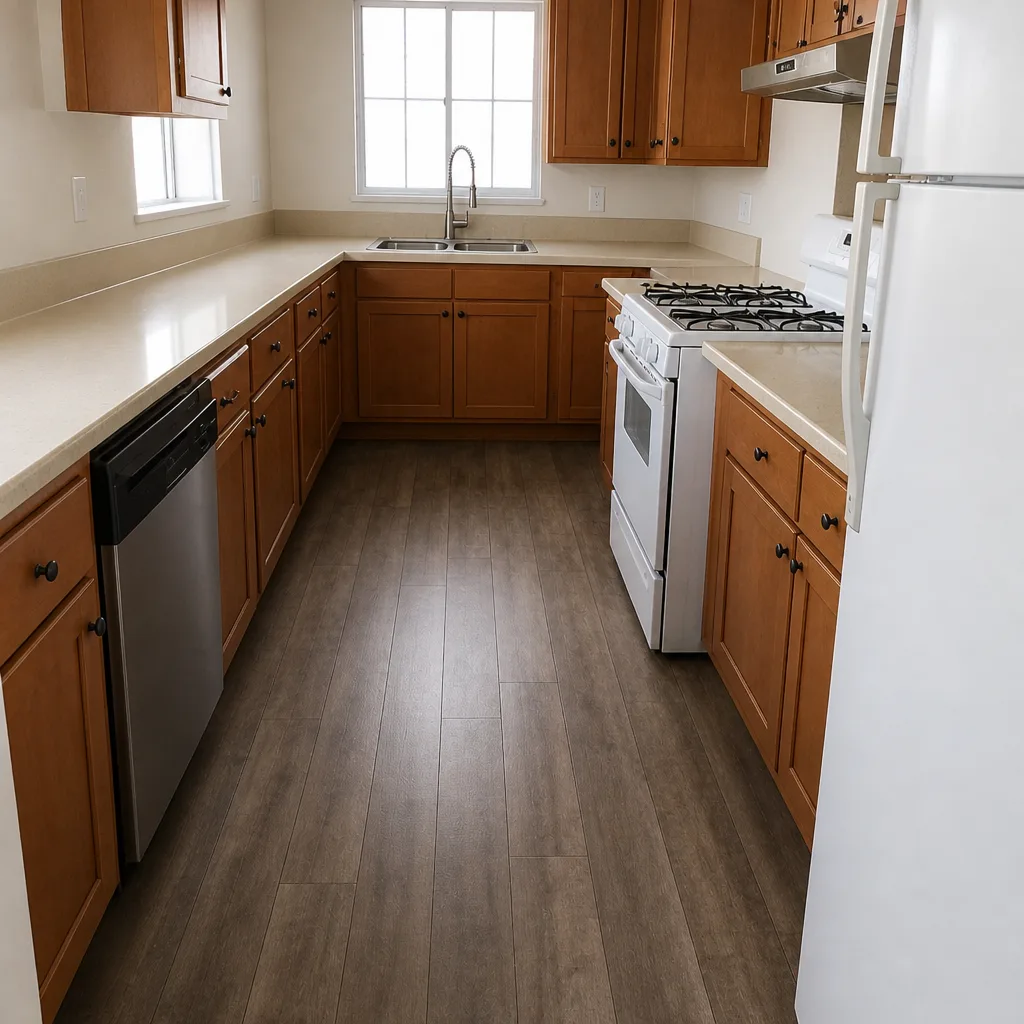
See the difference
 Before
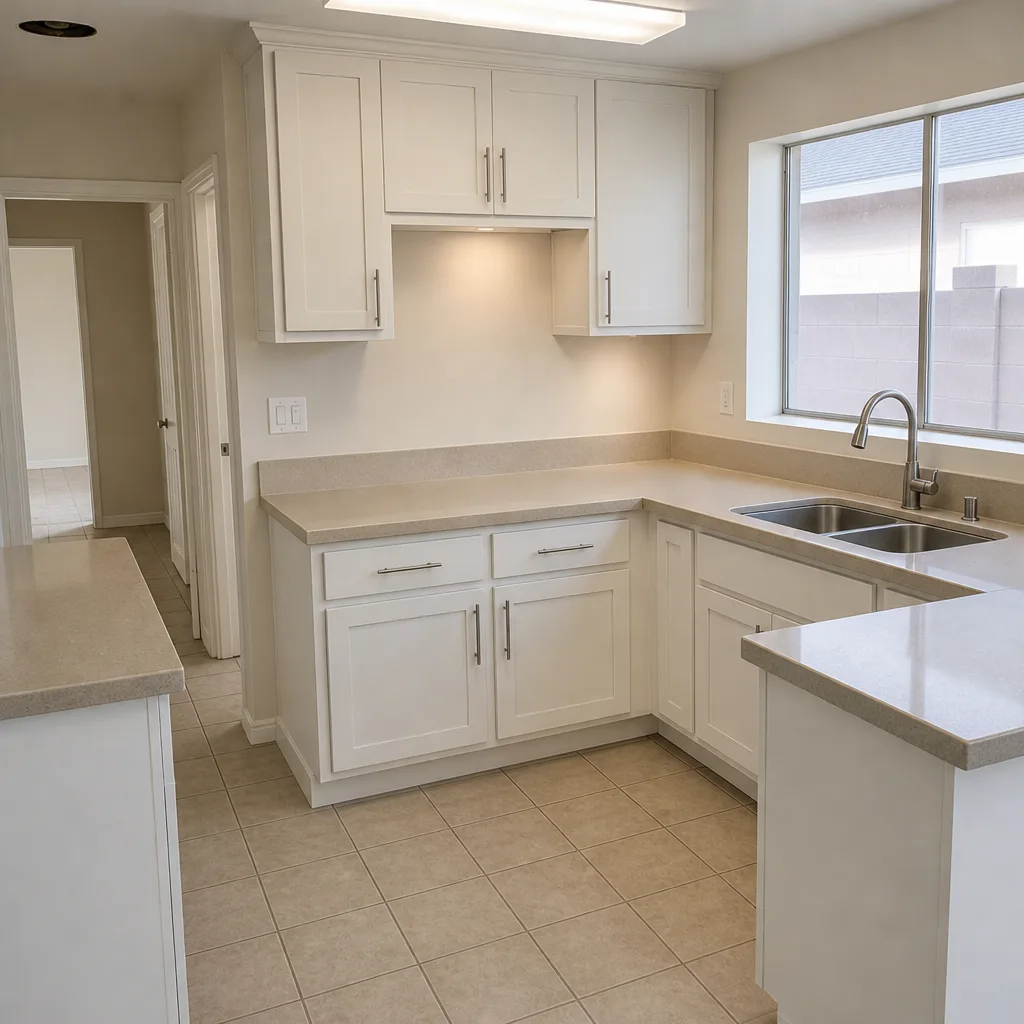 After
 Before
 After
 Before
 After
When to Call a Professional
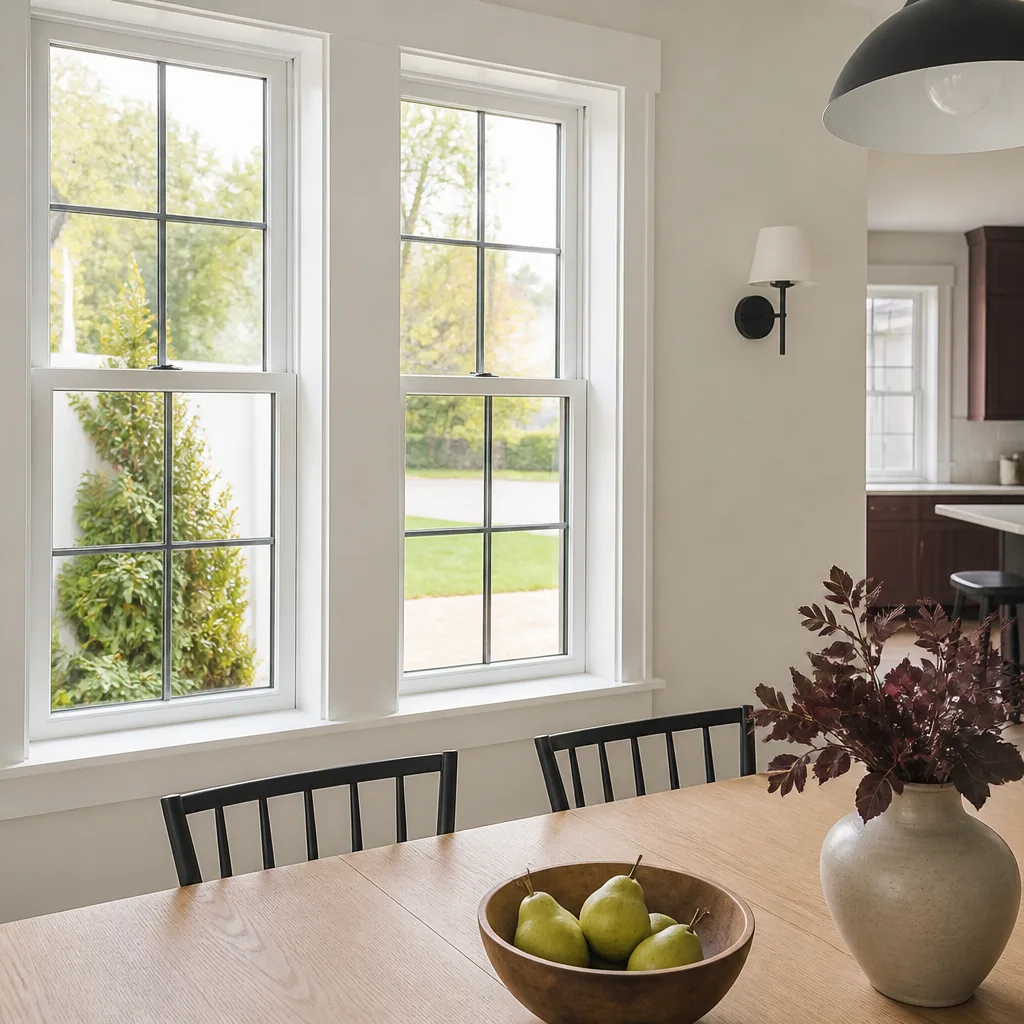
Call a professional when the opening changes at all, when the header or framing is involved, when the substrate behind the unit shows any softness or rot, when the door or window is on an upper floor or in a second-story wall (fall risk and staging cost), when you’re replacing the whole house package and want warranties to hold, or when the permit requires a licensed contractor of record. Call us if the work is part of a larger project – a kitchen or bathroom remodel, an addition, or a doorway that’s part of a new opening. Rowan Construction Group North Las Vegas offers free estimates in North Las Vegas – call (844) 708-4417. Our technicians have up to 19 years of experience, and every visit includes a documented photo record of what we found and what we did.
If the scope turns out to involve more than windows and doors, we handle the adjacent trades too: Driveway & Pavers in North Las Vegas, Fence Installation in North Las Vegas, and Home Additions & ADU in North Las Vegas.
Frequently Asked Questions
In most cases, no – a same-size, in-kind replacement in an existing opening is generally permit-exempt in North Las Vegas, but any change to the opening size, any new opening, and any structural change requires a permit and inspection. Confirm with the Clark County building department before you start; the call takes five minutes and saves a disclosure issue at sale. Call (844) 708-4417 if you want a written scope and permit pull handled for you – estimates are free.
Usually not. Standard HO-3 policies exclude long-term water damage, and a failed flashing detail that takes two years to show reads as long-term to the adjuster. The claim gets denied or limited to the sudden event, and the rot behind the wall comes out of your pocket. Call (844) 708-4417 for an installer’s perspective before you commit to the DIY route.
It can. Andersen, Pella’s retail channel lines, and JELD-WEN all condition product warranty coverage on installation per the manufacturer’s published guide, and a claim traced to improper flashing is typically denied. The product is covered; the failure mode from a bad install is not. Call (844) 708-4417 to see what a written install scope that preserves your warranty looks like.
A single window is typically a half-day of work including removal, flashing, setting, and finish. A whole-house package of eight to twelve units runs two to three days with a crew. We build the schedule into the written scope so you know what to plan around; call (844) 708-4417 for a free estimate.
The order is pan flashing at the sill, housewrap wrapped into the opening, side flashing over the flanges, and head flashing under the housewrap layer – upper layers shed over lower layers so water runs out, not in. One out-of-sequence step creates a leak that may not show for two to three years, which is why the sequence matters more than the unit brand. Call (844) 708-4417 if the existing install is in doubt.
A same-size door slab replacement in an existing frame is often within a homeowner’s reach. A prehung door or any change to the opening engages the header and flashing requirements, and that’s contractor territory – especially for entry doors where the warranty is channel-based, like Therma-Tru. Call (844) 708-4417 for a free written estimate on the door before you buy.
The Bottom Line
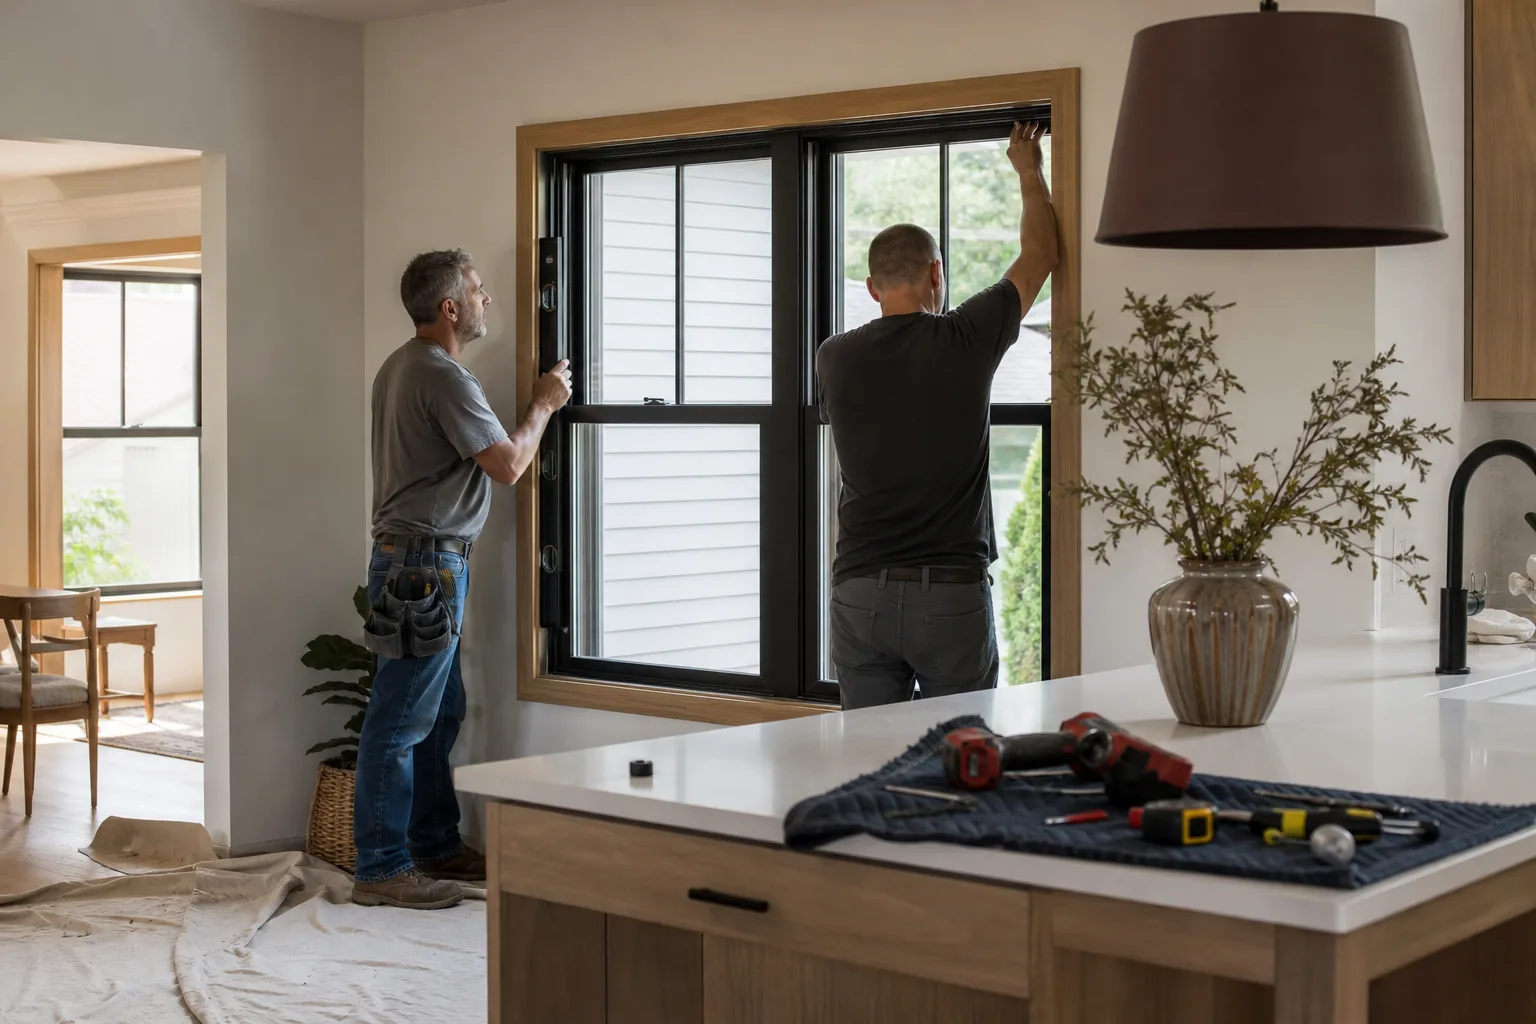
The physical swap of a same-size window is within a careful homeowner’s reach. The things that come with it – the permit record, the flashing sequence, the warranty conditions, and the insurance gap – are where the real cost lives. In North Las Vegas, a flashing error hides for two to three years and then shows up as rot at sale. A warranty claim on a self-installed Andersen, Pella, or JELD-WEN unit usually fails on the installation clause. And a dollar comparison that includes permit, tools, disposal, and your weekend puts DIY within a few hundred dollars of a written professional scope – not the thousands the retail aisle suggests. The safe rule: same size, same opening, ground floor, sound substrate, do it if you’re confident. Anything else, get a written price. Call (844) 708-4417 for a free estimate and a flat written scope before anyone picks up a tool.
Written by the team at Rowan Construction Group North Las Vegas.